• Skip to primary navigation
  • Skip to main content
  • Skip to primary sidebar
  • About Me
  • Blogging Resources
  • Disclosures & Sponsors
  • Privacy Policy
  • Contact Me

Chicken Scratch NY

  • Punch Needle
    • Chicken Scratch NY Pattern Shop
  • Farm
    • Chickens
  • Garden
    • Vegetable Garden
    • Flower Garden
    • DIY Garden Projects
  • Food
    • Preserving Food
    • Desserts
  • DIY
    • Fabric & Sewing
    • Paint
    • Paper
    • Vinyl
    • Wreaths
    • Wood
    • Yarn
  • Holiday
    • Birthday Parties
    • Valentine’s Day
    • St. Patrick’s Day
    • Spring & Easter
    • 4th of July
    • Halloween
    • Autumn & Thanksgiving
    • Christmas
  • Family Life
    • Crafting with Kids
    • Word Search & Crossword Puzzles & Mazes
  • Newsletter
You are here: Home / DIY / One Bunch Faux-Flower Swapable Wreath

One Bunch Faux-Flower Swapable Wreath

Last Updated January 7, 2018 By Alecia 13 Comments

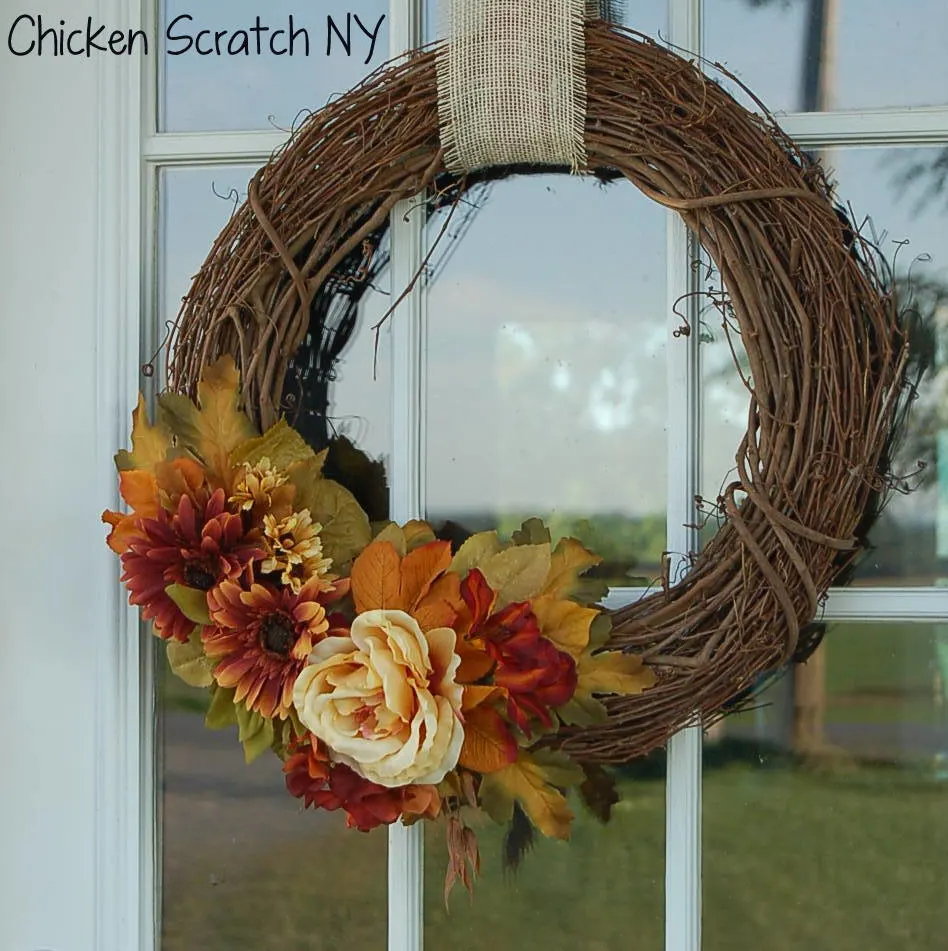
Have you ever walked into the fake floral aisle of Michael’s or HobLob or Joann’s and felt like fainting? I have. There are too many options and  more often than not the aisle is a bit claustrophobic. I designed this tutorial to take the guess work out of using fake flowers in a wreath while also being change-able for different seasons and holidays. There is never enough room to store all the wreathes I want to make so I needed this to be useful for more than 2 months. Pick a bunch of flowers with different elements and colors, the great thing is they are all coordinated without any effort from you! Enjoy!

[pinit count=”horizontal”]

You’ll need:

Wreath form (I used an 18 in grapevine from Michael’s on sale for $2.99)

Floral Bunch (again from Micheal’s on sale for $6.50)

Piece of felt for the base

2 Pieces of wire

Hot glue gun

Scissors

Start by making your felt base.  You can make a pattern by tracing on scrap paper or eyeball it. It doesn’t have to be perfect or even pretty, it’s going to be covered up.
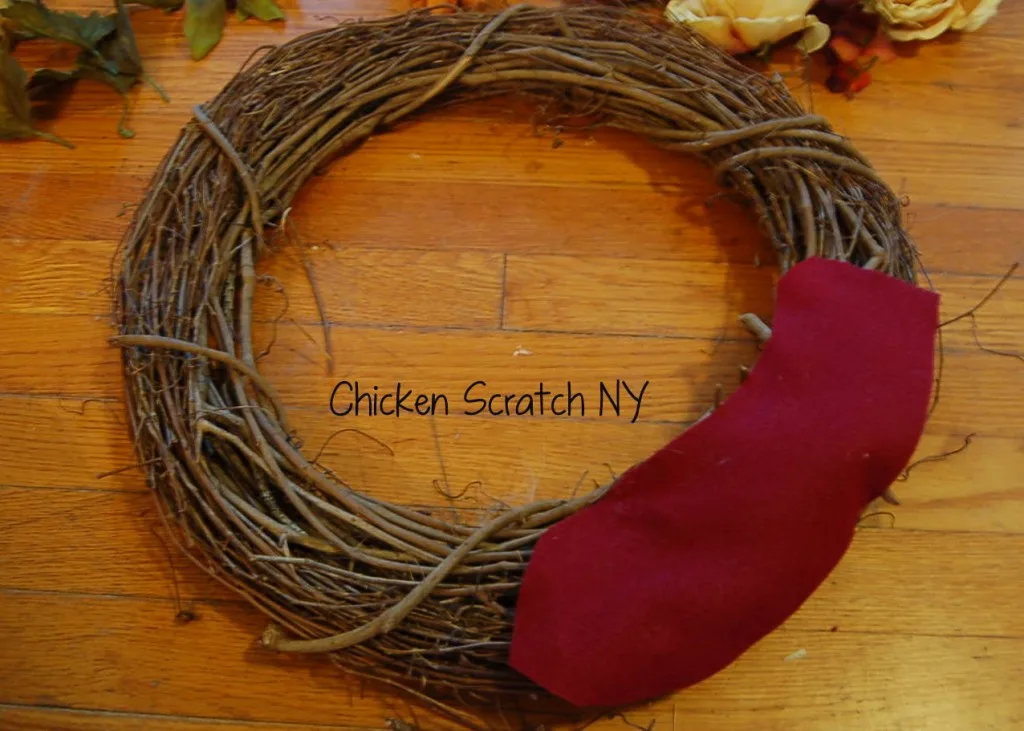
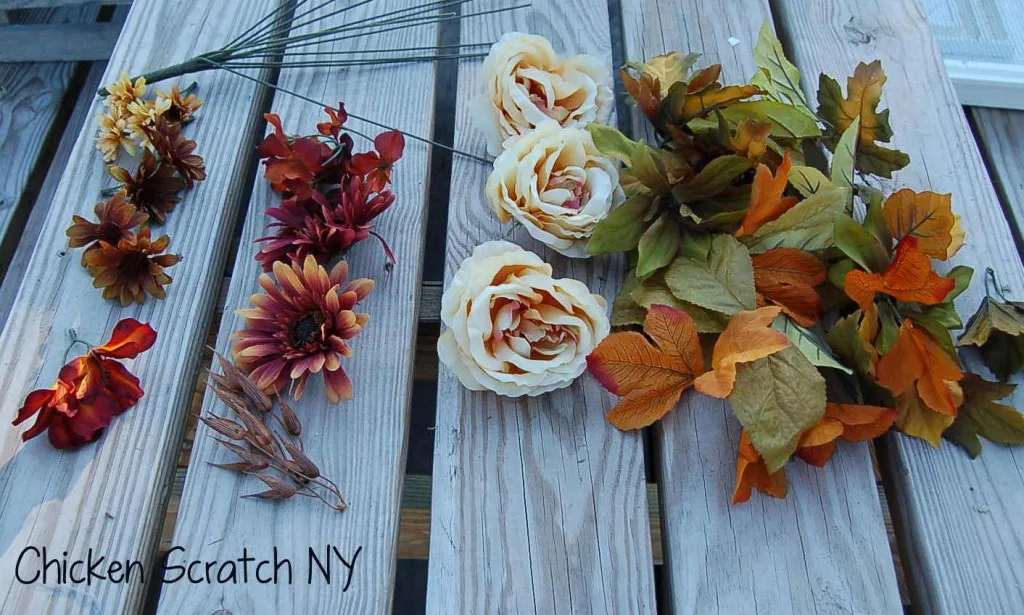
Now rip apart your floral bunch. Take off all the flowers and leaves. Clip the leaves into single pieces, it’ll be easier to position them if they aren’t attached to each other.

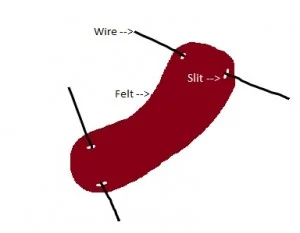
*I’m missing the picture for this step so I made this high tech graphic*

Cut four small slits in the felt piece, run the wire through the felt, this is how you’ll attach it to the wreath form. This is also what make these wreathes swappable!

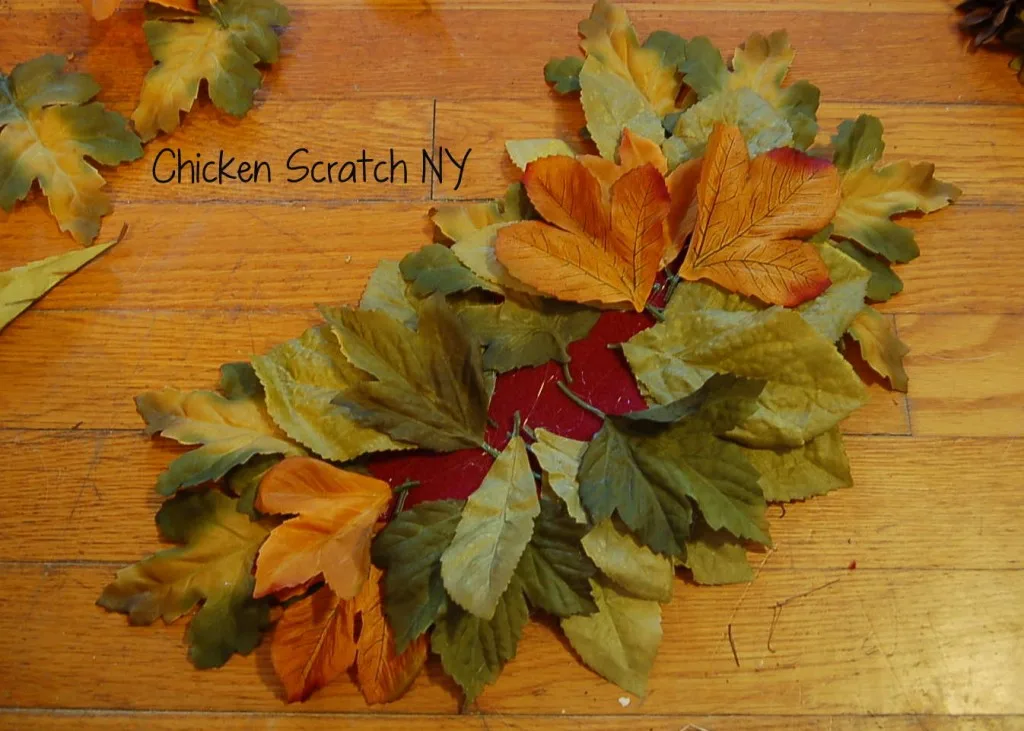
Start gluing down the leaves. Overlap and work all the way around the edges. Try to cover all the felt around the edges.

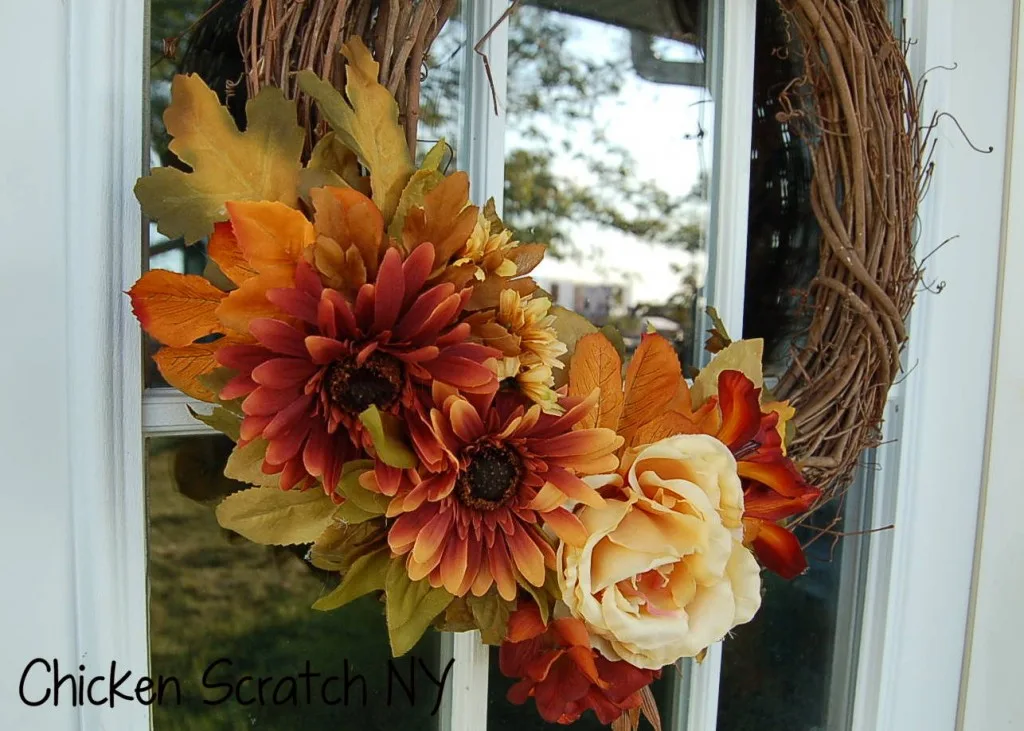
Add the flowers, start with the big ones and work in smaller flowers and more leaves until you’re happy. That’s all folks!

Filed Under: DIY Tagged With: Fall Craft, wreath

Reader Interactions

Comments

  1. JoAnn @ SweetPepperRose says

    September 13, 2012 at 1:47 am

    This is a neat way to get the flowers to stay on – looks very pretty!

    Reply
  2. [email protected] says

    September 13, 2012 at 10:50 pm

    Wonderful idea to add felt and then gluing on the leaves. Gorgeous finished project! Thanks for the inspiration!

    Reply
  3. Alisha says

    September 14, 2012 at 10:03 pm

    This came out great!! TFS!! Stopping by from Somewhat Simple linky party. Here is what I shared: http://craftybrooklynarmywife.blogspot.ca/2012/09/another-fur-baby-coat.html

    Are you a NNYer?? We are currently stationed in Kingston, ON and will eventually retire up in NNY.

    Reply
  4. [email protected] says

    September 15, 2012 at 4:59 am

    This is beautiful. Thanks for sharing!! I look forward to seeing you at My Dream Canvas.

    Reply
  5. Anne says

    September 15, 2012 at 2:48 pm

    Great project!! Looks beautiful!
    xx
    Anne

    Reply
  6. Just Winging It says

    September 15, 2012 at 3:20 pm

    I am inviting you to come and share this in my Show Your Stuff blog hop:
    http://juliejewels1.blogspot.com/2012/09/show-your-stuff-41.html

    Reply
  7. Katherines Corner says

    September 16, 2012 at 7:52 pm

    a lovely way to greet people. The tutorial is terrific too. Thank you for sharing at the Thursday Favorite Things hop. Your participation helps make it a success.I’m sorry I am slow to visit this week as I am fighting a nasty head cold and my time on the computer has been limited.Wishing you a beautiful day .

    Reply
  8. Lauren says

    September 17, 2012 at 2:39 am

    Brilliant! We have no storage room here so I can’t make a wreath for each holiday either. This is really great. Thank you for sharing at our Pinteresting Party!

    Reply
  9. Honey at 2805 says

    September 18, 2012 at 1:16 am

    Very pretty! Thank you for sharing your project at Potpourri Friday!

    Reply
  10. Linda @ A La Carte says

    September 18, 2012 at 1:41 am

    That is so clever! I am going to do this for sure! Love the idea and this way you don’t use too many flowers and that helps cut down the cost also!

    Reply
  11. Trish - Mom On Timeout says

    September 19, 2012 at 10:24 pm

    What a beautiful wreath and so smart! Thanks so much for sharing at Mom On Timeout!

    Reply
  12. Tammy says

    October 28, 2012 at 11:36 pm

    Very Pretty….coming from Bloggy Girls Club. I have a linky party going on right now if you would like come and share it at Share it One More Time…http://www.onemoretimeevents.com/2012/10/share-it-one-more-time-party-and.html.
    Tammy

    Reply

Trackbacks

  1. 30 Fall Project to Make for YOUR Home! says:
    September 15, 2012 at 9:18 am

    […] Faux Swapable Flower Wreath @ Chicken Scratch […]

    Reply

Leave a Reply Cancel reply

Your email address will not be published.

Primary Sidebar

Copyright © 2021 · Daily Dish Pro On Genesis Framework · WordPress · Log in