One of my favorite Christmas family traditions is setting up the Nativity scene. My grandma bought my sister and I our own sets and added lots of characters over the years (what, your nativity set doesn’t have a flock of sheep and a man playing bagpipes?).
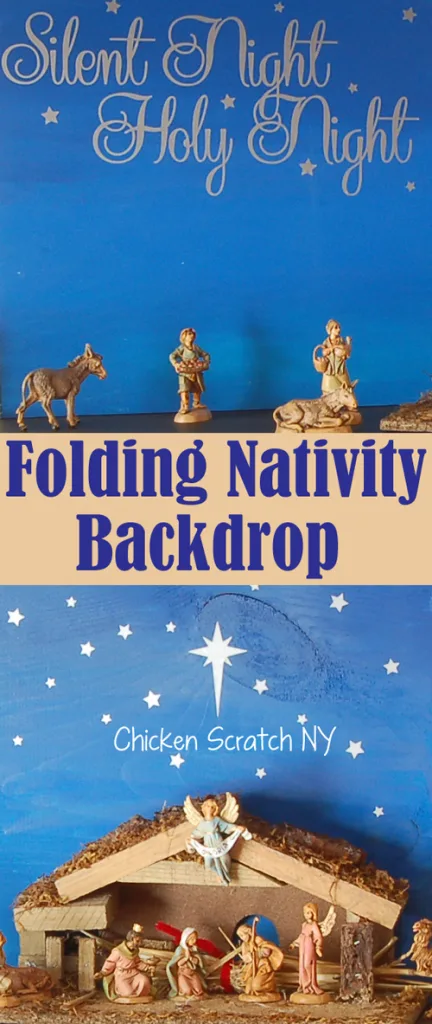
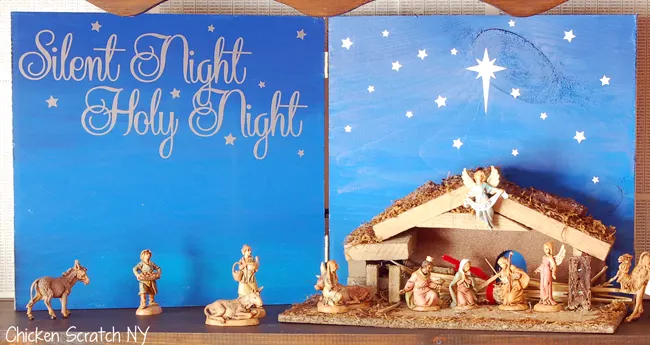
I decided to paint a pretty ombre sky and add metallic vinyl accents including lines from one of my favorite Christmas songs to create a standing nativity background, the fact that it folds up for easy storage is just a bonus!
Nativity Background Supplies:
? 2 pieces of 12×12 wood (I bought a 12*48 foot board at Lowe’s and they cut it into 4 pieces for free)
? 3 shades of blue craft paint
? 2 small hinges
? Drill
? Screwdriver
? Silver adhesive vinyl
Instructions:
1. Place your two boards side by side on a flat surface, chances are your boards are not identical so make sure you use the the board edges (not the cut sides) as the top and bottom.
2. Squirt the darkest paint at the top, the middle shade in the middle and the lightest at the bottom. It’s ok to be sloppy.
3. Using your brush smooth out the paint covering the whole board, moving from the lightest to the darkest. Blend the colors where they meet so you don’t have 3 rectangles of color but a smooth ombre effect.
It’s easiest to blend the colors if all the paint is wet so you want to move fairly quickly. Using a bit more paint than you would normally use will help get things blended too.
3. Once the paint is dry match up the boards so the dark side matches the dark side and place them face to face. Mark the side for the hinges. I didn’t have a small enough drill bit to put the tiny hinge screws in so I had to pre-drill them and put them in with a screwdriver. I used two hinges.
4. Set up, cut out and weed your vinyl. Use transfer tape to add the lettering to the board and then manually place all the stars. I cut a lot more stars than I ended up using
Free Nativity Background Cut Files: Studio File .SVG File
Check out my Christmas Page for more decoration ideas or start here:
Want to Check Out More Silhouette Projects?
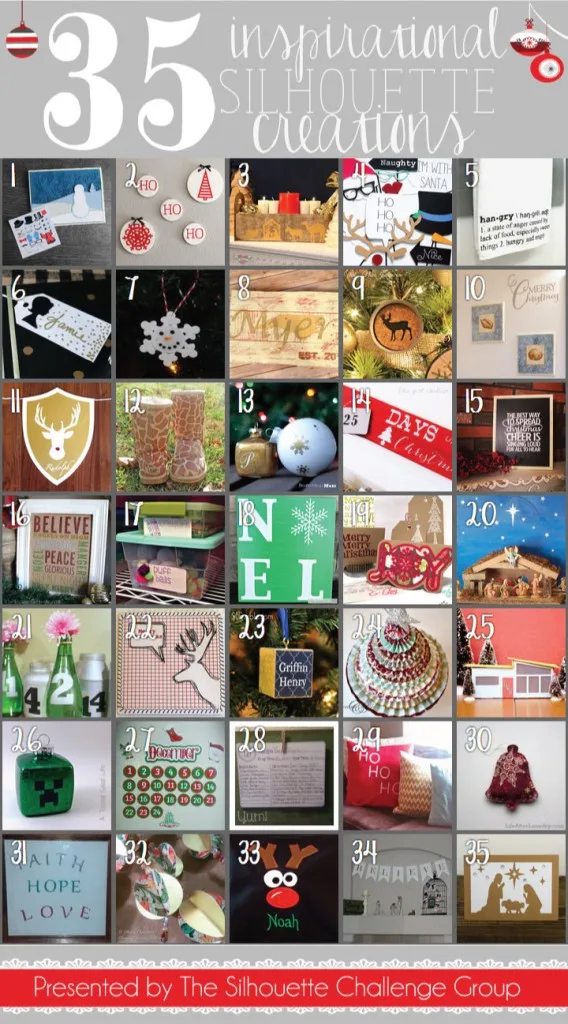
My Silhouette Challenge buddies and I are all sharing projects on our blogs today, so peruse the projects below for a wealth of Silhouette inspiration!
-
- 2013 Snowman Christmas Card by Please Excuse My Craftermath…
- Christmas Hoop Art by Lil’ Mrs. Tori
- Silhouette Nativity Advent Candle Box by One Tough Mother
- Christmas Party Photo Booth Props by unOriginal Mom
- Another Stenciled Tea Towel by Cutesy Crafts
- Silhouette Gift Tags by Rain on a Tin Roof
- Snowflake Pin / Ornament by Coley’s Corner
- State Sign Couple Gift by It Happens in a Blink
- Mason Jar Christmas Ornaments by Vintage News Junkie
- Merry Christmas Wall Decor by One Artsy Mama
- Deer Head Holiday Banner…featuring Santa’s Reindeer by The Thinking Closet
- Restore your UGGS (with PAINT) by From Wine to Whine
- Monogrammed Snowflake Ornaments by Architecture of a Mom
- Christmas Countdown Sign by The Girl Creative
- Elf Chalk Sign: “The Best Way to Spread Christmas” by Weekend Craft
- Glittery Christmas Subway Art by The Turquoise Home
- Sketch Pen Labels by Sowdering About in Seattle
- Snowflake NOEL Sign by My Favorite Finds
- DIY Holiday Hostess Gift by Everyday Paper
- Folding Nativity Backdrop by Chicken Scratch NY
- Recycled Glass Jar Advent Calendar by Nearly Handmade
- Reindeer Card: Double-Sided Print & Cut by GetSilvered
- Personalized Block Ornament by Suburble
- Paper Medallion Christmas Tree by Create & Babble
- Mini Mid-Century Homes by Tried & True
- Glitter and Vinyl Minecraft Christmas Ornament by A Tossed Salad Life
- DIY Countdown to Christmas Refrigerator Style by My Paper Craze
- Reversible Recipe Holder/Block Frame by The Sensory Emporium
- DIY: Lettered Christmas Pillows by The House on Hillbrook
- Simply Charming Christmas Ornaments by Life After Laundry
- No Glitter was Worn by GiveMeAPaintbrush
- Make Easy Ornaments from Paper Circles by Bringing Creativity to Life
- Cutting Machine Embroidery Applique by Terri Johnson Creates
- “Believe” Christmas Banner by Daily Dwelling
- DIY Christmas Nativity Card by Pitter and Glink


Birgit J
Friday 12th of December 2014
What a beautiful idea! I have this Nativity set as well. You've just inspired me!
Bethany
Friday 12th of December 2014
What an easy and fun idea! Love this! Thanks!
Valerie
Saturday 14th of December 2013
I love what you did here! My mom used to put an elaborate nativity scene under our tree every year, complete with grocery bag "hills" and cotton "snow". We had a variety of animals, but never a man playing bagpipes.
Lauren @ The Thinking Closet
Wednesday 11th of December 2013
Oh, this is SUCH a great addition to your ever-growing nativity scene. It really makes it POP! (And I chuckled at the bagpipes man...why not, though?! I'm sure Jesus had a wide cast of characters come to visit him from near and far.) Such a wonderful Christmas tradition, and now it's made all the more special by this nativity backdrop. Well done! Thanks for participating in our Special Challenge this month!
Rachel @ Architecture of a Mom
Tuesday 10th of December 2013
I've never thought about creating a backdrop for my nativity scenes--thanks for the inspiration!