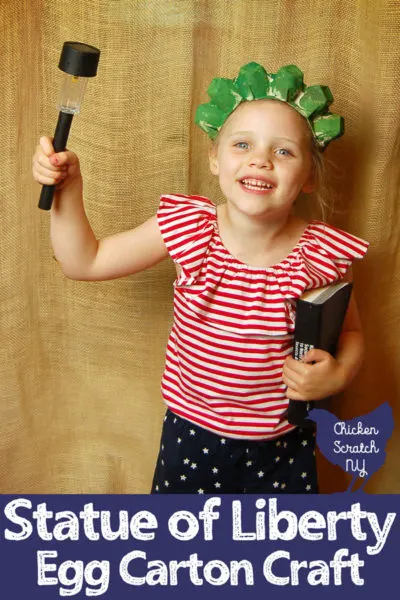
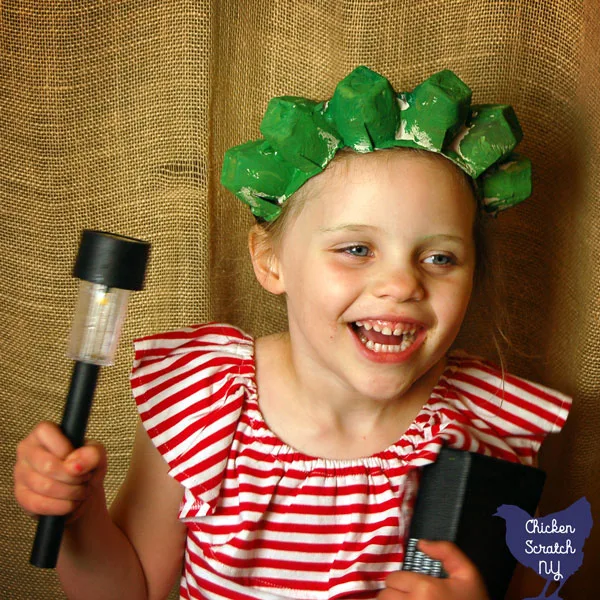
Time for some patriotic fun! The girls and I made fun Statue of Liberty Crowns out of egg cartons.
Why egg cartons? I have too many chickens, too many eggs and also too many egg cartons. Turn out they’re pretty versatile and I’m sure we’ll be doing more with them later.
As for the paint colors, I have several boxes of craft paint. I showed Mary a picture of the Statue of Liberty and let her pick out the paint.
We ended up with about 8 different bottles of green paint. I tried to explain oxidation but I was met with blank stares.
Maybe next year. Either way green is her (and my) favorite color so she was really excited.
Statue of Liberty Egg Carton Craft Supplies
- Paper Pulp Egg Carton – you can make two crowns from one carton
- Scissors
- Craft Paint
- Paint Brushes
- Hole Punch
- Thin Elastic
Instructions:
1. Cut the carton apart. Remove the top, side flap and cut down the center between the cups.
One side will have large V shapes, on the other side cut slits in the cup, about 1/2 way up. This will help the carton bend around the child’s head.
Make sure you’re cutting the rounded cup and not the space in between, it makes them too weak and they’ll rip apart. You can see the cuts I’m talking about in the picture below on the left carton.
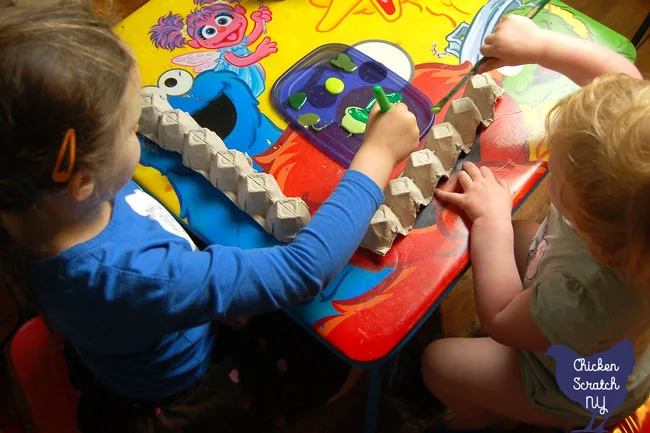
2. Set up the paint and hand out the brushes. Mary was pretty thorough but my 2 year old was far more interested in painting the inside of the cups.
I turned my back for a second to find the elastic and I returned to Mary painting her hand green while Kat painted her whole arm. We called it quits with the paint at that point.
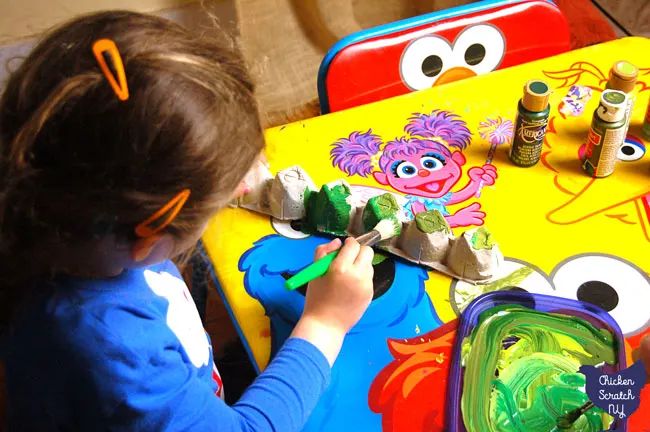
3. Set the cartons aside to dry. I set them in front of a fan to speed things up. The cartons are much more fragile when wet so let them dry completely before you start to mess with them again.
4. Punch a hole in the cups on the end. Go up about an inch. If you’re too close to the edge you might rip right through.
5. Thread the elastic through and tie a few knots in the inside. Then measure on the kid and cut the elastic. Mary’s ended up being about 6 inches and Kat’s was a little smaller.
6. String it through the opposite hole and tie a few more knots.
7. Remember the slits you cut in the beginning? They might have gotten painted shut so make sure they’re open and bend the cups a little. They should overlap a little and make the crown bend without ripping
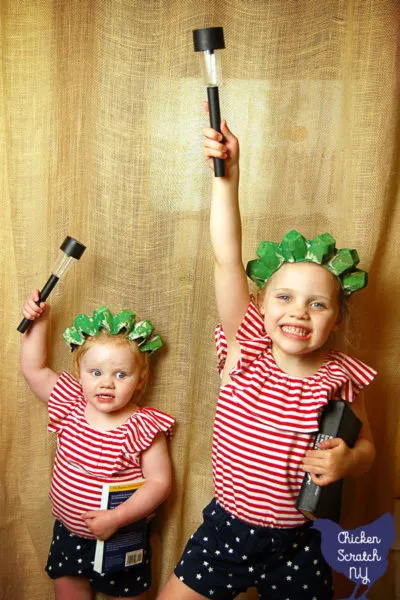
The next step is to change out of the painting clothes. Then put the crowns on, hand them each kid a book and a solar light from your lawn.
Fun fact, Kat is holding Advanced Birding and Mary has my Field Guide to North American Insects.
If I had to guess I’d say it took me longer to get a picture where neither child looked insane or asleep than the actual craft. The crowns aren’t that durable, they’re made of paper after all.
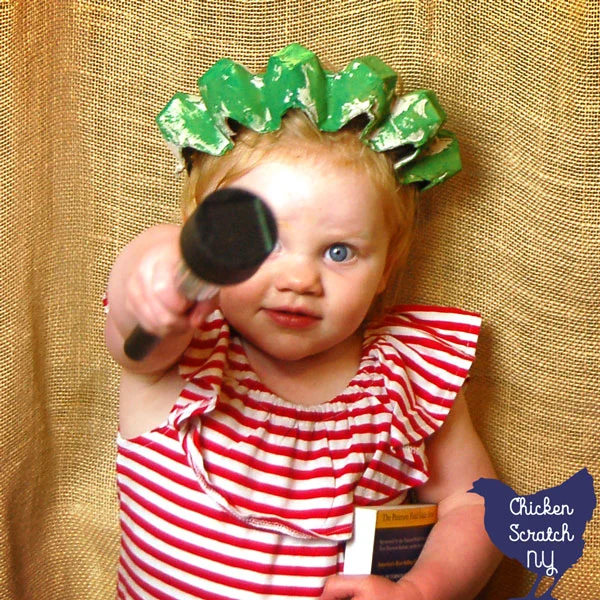
Ours did survive being worn around for about an hour before bed and while they ate breakfast the next day.
It’s been almost a year since we made them and one just popped up in the dress up box, I have no idea what it’s been doing for the last eight months but it turns out they’re more durable than I thought!
Don’t forget to PIN this to your arts & crafts or 4th of July Board!
Check out my Kid Crafting page for more ideas or start here:

