I love the holiday for so many reasons but number one is time spent with family. I knew I was going to be hanging out with my nephew so I scrounged up a few supplies for a fun crafting session. He’s a super active not-quite-3-year-old and this held his attention for about 15 minutes. I also discovered he’s about as easy to photograph as Bigfoot so all the pictures of him came out blurry.
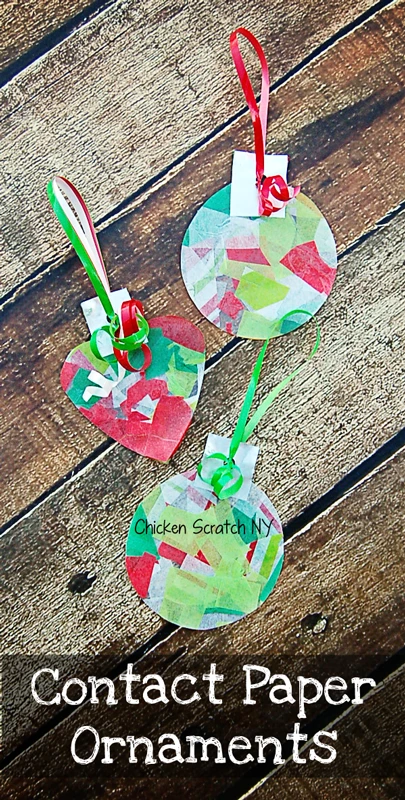
Supplies:
- Clear contact paper (I buy mine at the dollar store)
- Painters tape
- A few colors and/or patterns of tissue paper
- Scissors
- Sharpie Marker
- Drinking glass or cookie cutters to trace
- 1-Hole Punch
- Curling ribbon
Instructions
- Cut up pieces of tissue paper about 1×1 in a few different colors. I bought a pack with a bunch of colors and did a strip from each
- Cut 1 inch squares of aluminum foil and stick them along the top, eye ball the spacing or measure using your cookie cutters/mugs (I actually put two too close so we ended up with 3 circles and one semi-heart)
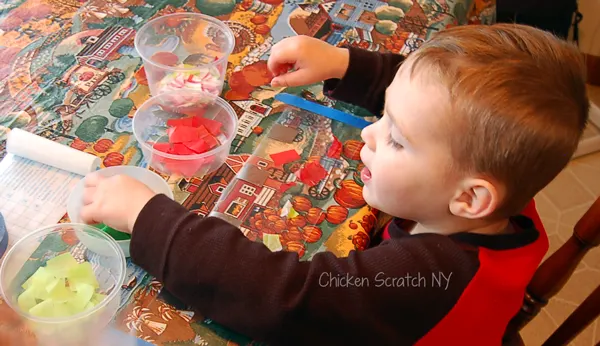
- Roll off about a 4 inches of clear contact paper. Carefully peel off the backing and tape the ends down with painters tape. I’ll take this time to apologize for the table cloth, we did this at my mom’s house and I wasn’t up to the task of taking everything off the table to remove it
- Get your little crafter and start sticking. Bentley does a lot of crafts in daycare so he didn’t need much direction. We ended up dumping all the pieces out on the table because he only wanted to pull from the bowl closest to him
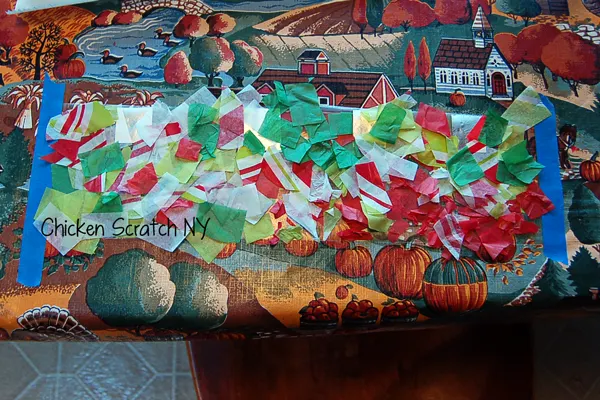
- Towards the end he was getting board so we abandoned the single piece method and ‘sprinkled’ the remaining tissue paper over the contact paper
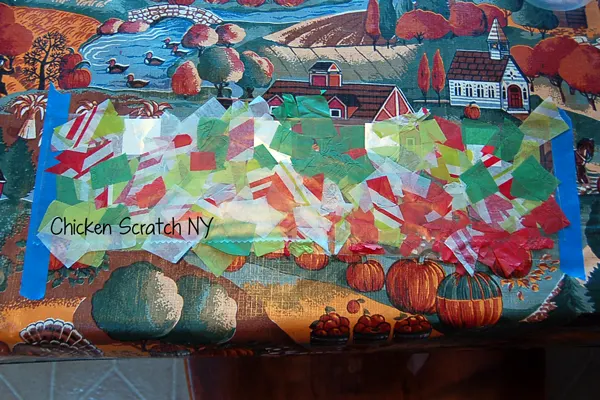
- Cut another piece of contact paper the same size as the first and start removing the back on the short side, match it up and press down. Slowly peel back the paper backing and smooth it over all the tissue paper
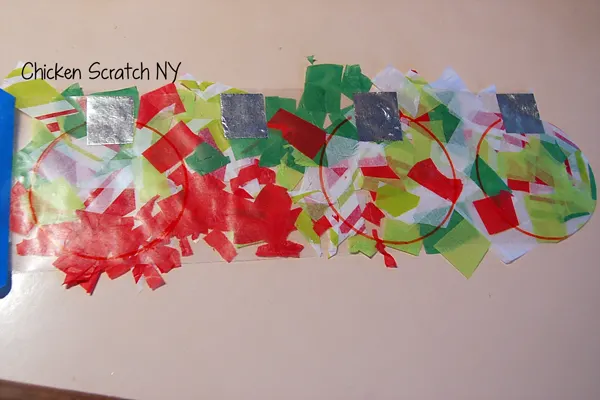
- Line up your glass or cookie cutter with the middle/bottom of the aluminum foil square and trace around the edge with a sharpie, do this for all the ornaments
- Cut out around the foil square and then just inside the line you drew
- Punch a hole in top through the foil square
- Cut 4 12 inch pieced of curling ribbon, stack them up and push them though the hole
- Bring the ends together and tie a knot leaving about 3 inch tails, curl the tails with your scissors
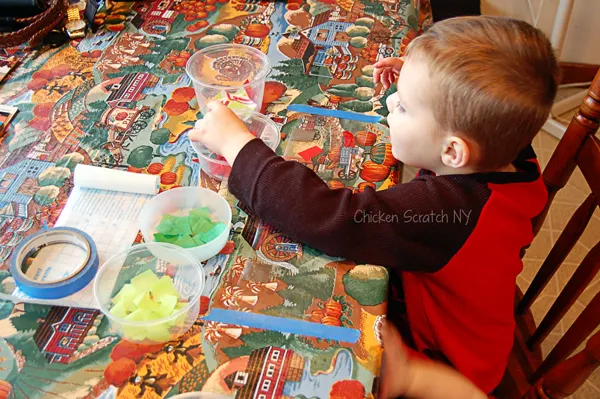
And you’re done! The super great thing about this is how cheap it is. If your kids hate it you aren’t out a ton of money and if they love it you can literally make 1,000’s of contact paper ornaments for a few dollars. We almost had an incident. See that little arm? Mary almost ripped the whole table cloth off the table, turns out the little Turkey Baby is super strong

Amy Cape Cod Moms
Wednesday 22nd of November 2017
Making fun holiday decorations is always one of my favorite things to do with the kids! They have fun, the house gets decorated and the memories last a lifetime!
Louise
Wednesday 22nd of November 2017
These look so cool! I love having decorations that the kids have made hanging in my house at Christmas. It makes it so much more special :)
Louise x
Jasmine - Stylish Cravings
Tuesday 21st of November 2017
Homemade decorations are the best! Any opportunity to make memories during the holidays is always a good idea!
Keikilani
Tuesday 21st of November 2017
These are so fun and cute! I love homemade holiday decorations
Kristin
Tuesday 21st of November 2017
What a fun and easy project! I'm going to try this with my little guy!