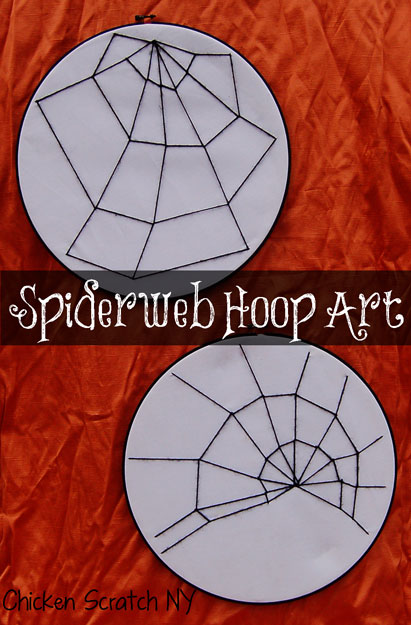
This is the first project (2nd post!) I ever did and I felt like it deserved some love. I still have these hoops 2 years later and aside from some odd stains they are going strong. I’ve got a soft spot for spiders and this project really shows them off in a simple way.
You will need:
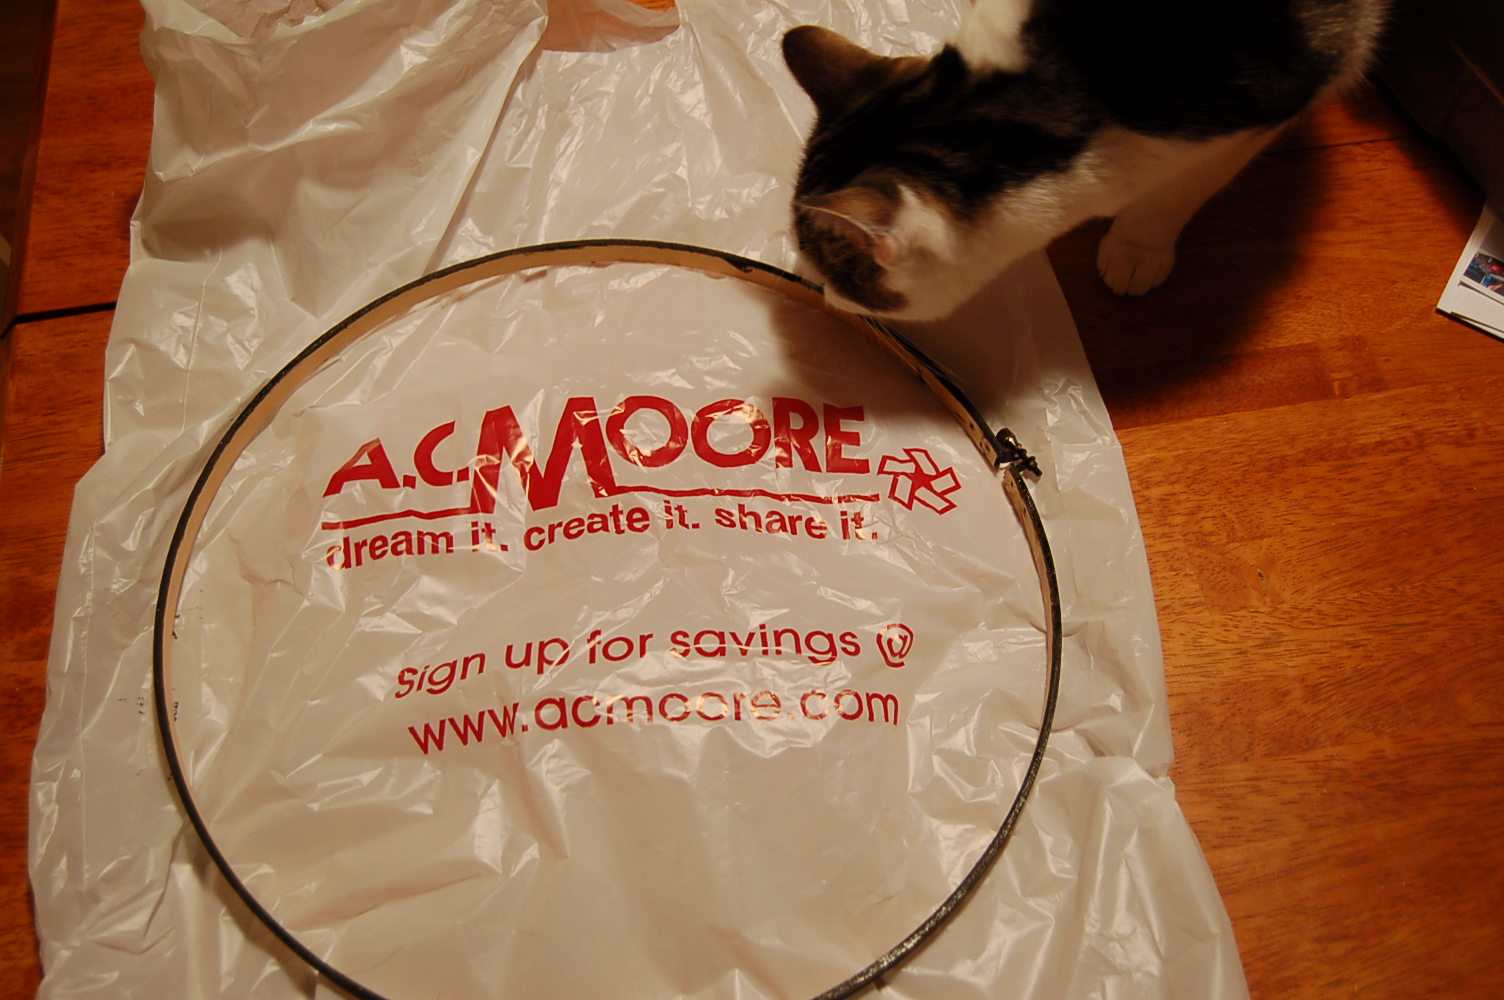
- 1 – Embroidery Hoop, you can get these for really cheap at craft stores. I used 14″ hoops
- Enough fabric to fit in the hoop 2x with at least 2 inches on the outside
- Yarn for the web (I used black yarn that I had just hanging around)
- Yarn needle
- Scissors
Optional:
- I put interfacing between the 2 sheets of fabric to give the backing more stability
- Paint and a brush OR spray paint for the hoop
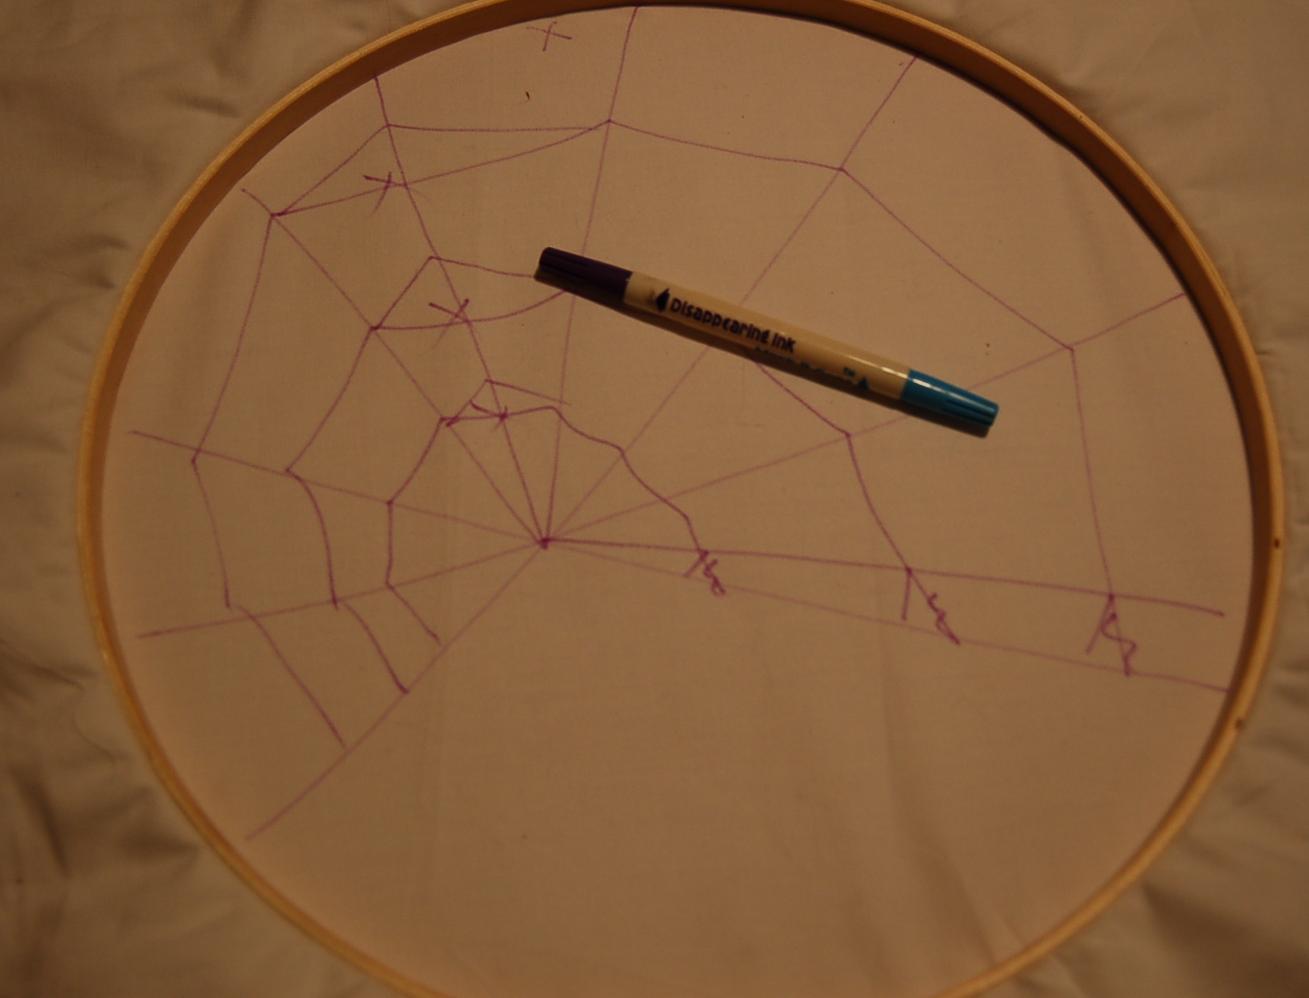
- Pencil or a disappearing ink pen

Step 1. Paint the outside hoop on the front rim and outside. Cats help a lot with this step.
Step 2. Sandwich the interfacing between the two pieces of fabric. Make sure this is hooped really REALLY tight. As you stitch the web it will loosen. Because this project will remain in the hoop until the end of time you can tug on the fabric to tighten it up. This is why having extra fabric is helpful.
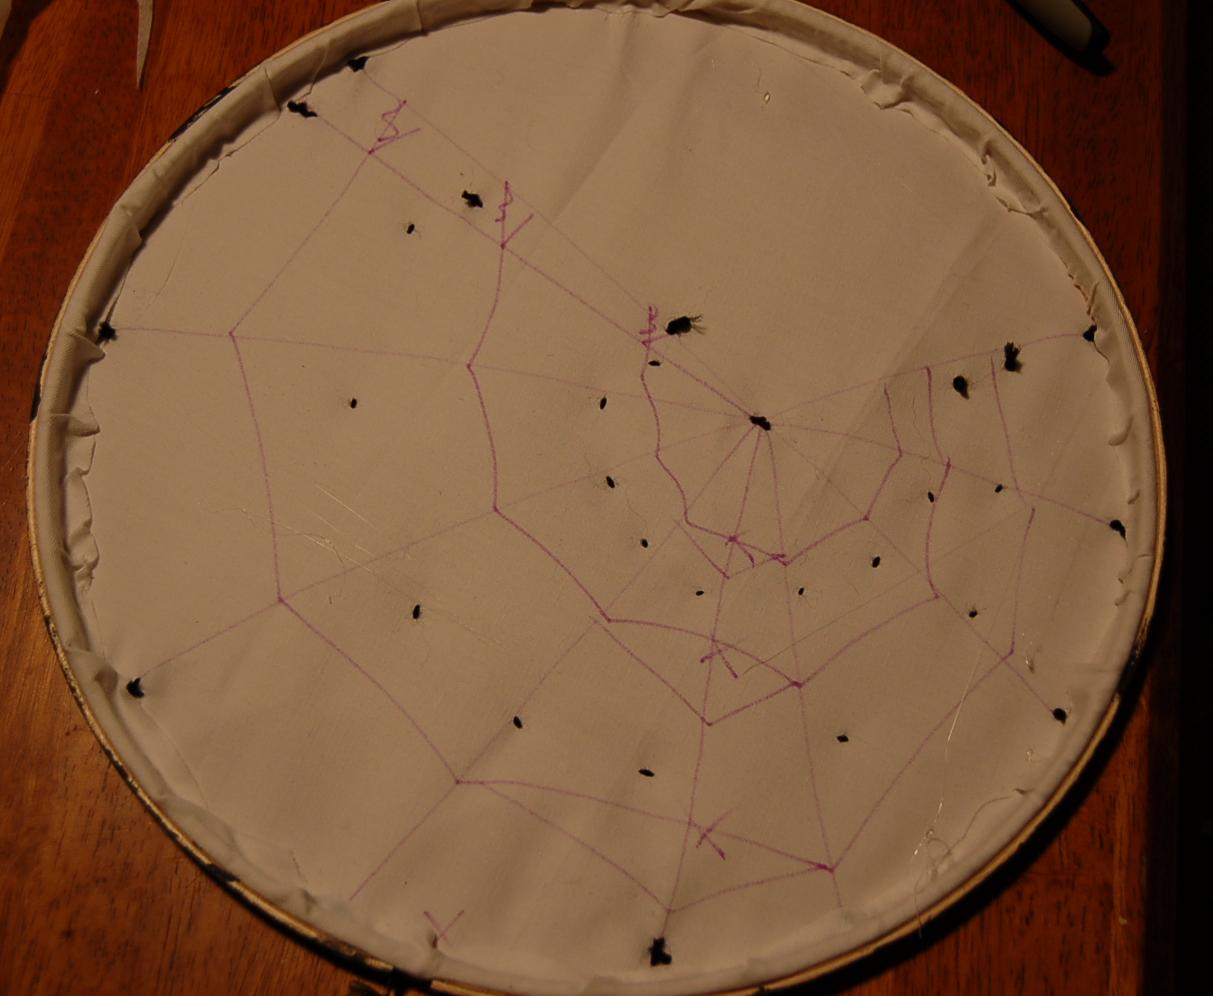
Step 3. Using the pencil or disappearing pen draw on the wrong side, the part that will end up against the wall. I used a disappearing pen to draw my web on the front and 4 days later if you look really close you can still see the purple, trust me on this one, draw on the back.
Step 5. Stitch the main lines. Using the yarn and yarn needle, go from the tip of one strand to the center, make a tiny stitch back to the front and then to the end of another stand. Tie off the yarn and cut. Try to minimize the amount of yarn on the back to prevent it from showing through. Finish all the main radiating lines first (burgundy and pink lines).
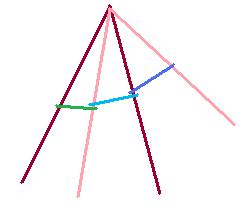
Step 6. Stitch the connecting lines. Start on the outside of one long line, cross over the next line and make a small stitch, going down on the far side coming up on the inside. This sandwiches the long lines and allows you to pull them to the sides, eliminating super straight lines.
Step 7. After you have finished sewing tighten up the fabric with more tugging. Next, from the back cut off the excess interfacing and back layer of fabric. Trim the front layer to about an inch all around the hoop.

Step 8. I wanted a clean look so I used my hot glue gun to clean up the outside. I just ran a line of glue around the hoop and pressed the fabric into the glue.
Step 9. Hang! These are really light so I just stuck pushpins in the wall and slapped the hoops on top.

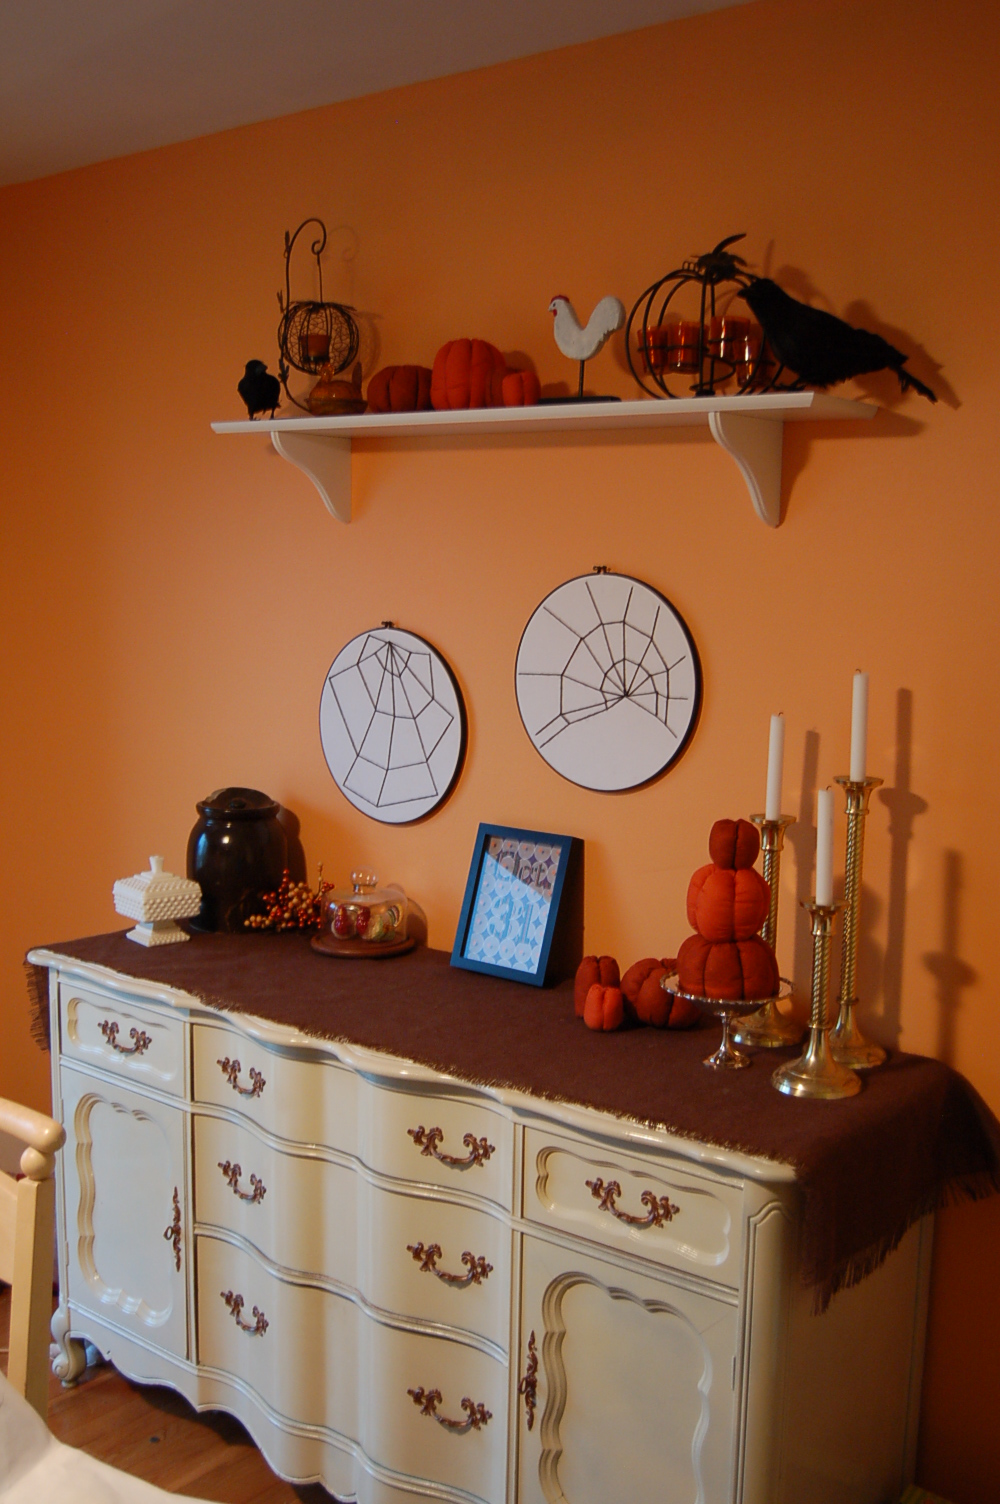
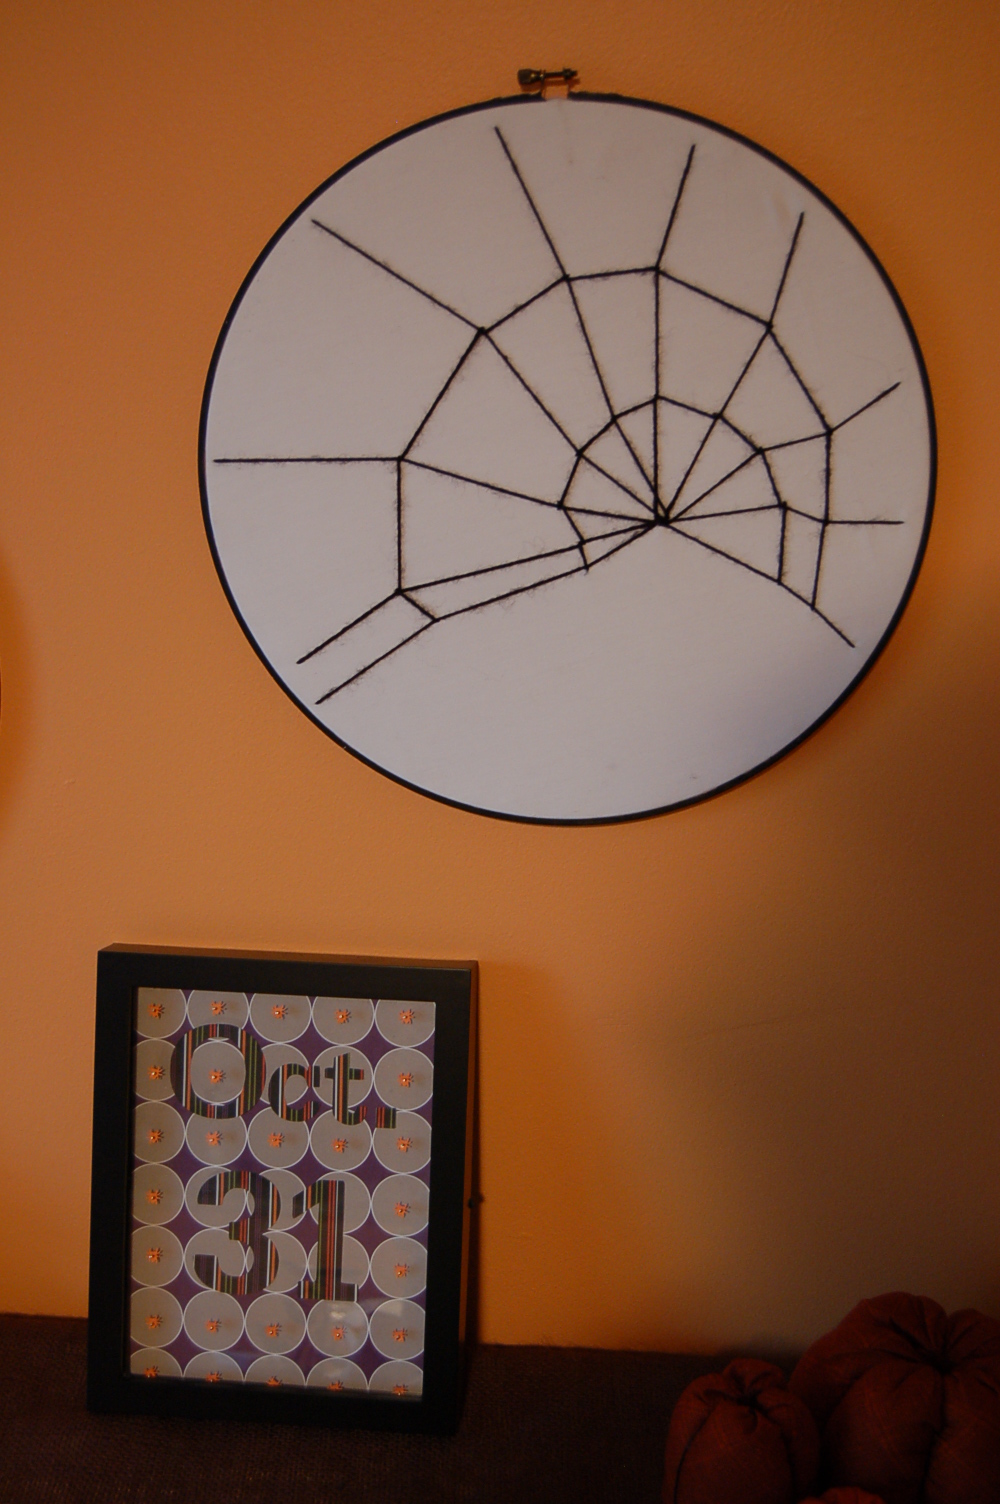
The Finished Product!Linking to: