I have had building a hay feeder on my long list of barn chores/renovations for a while.


My alpacas Fred and Oki are constantly battling the chickens for food. I can’t throw hay out for them without it getting scattered all over in a minute or two.
Hay isn’t free, I’m lucky enough to buy it from a neighbor but money is money and I hate to waste anything. I feed the alpacas hay from October/November to May/June depending on the weather. Hay is an important part of their diet so I needed a way to serve it up without waste.
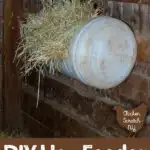
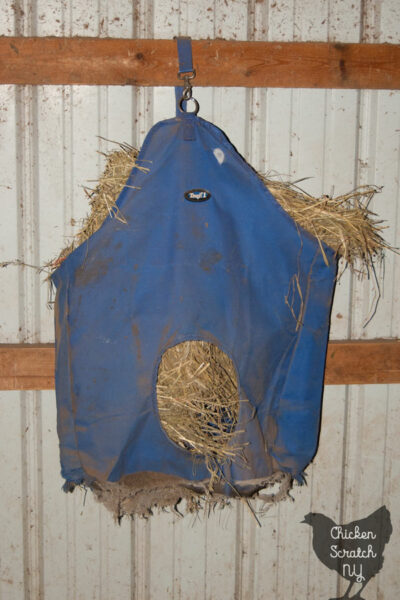
Last year I used a hay bag, and it worked fairly well but it couldn’t hold that much and it was a paint to fill. It also came in contact with a nail at some point and it’s dead now.

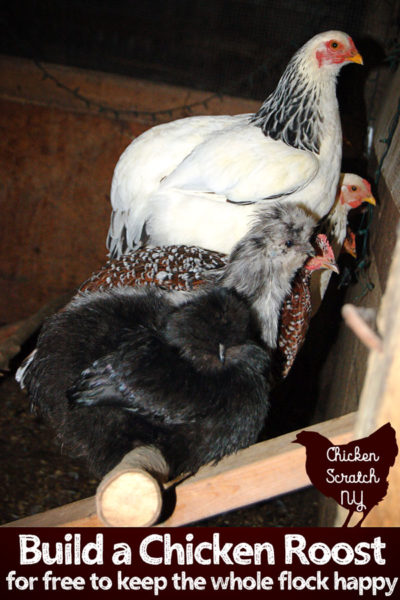
I had a few minutes today so I took a quick inventory of my random junk hoard and came up with this idea. Just like my last project, the DIY chicken roosts, this was completed for free!
DIY Hay Feeder Supplies
The main ingredient if you will for this project is a white barrel. I don’t know where it came from but it’s been sitting in my garage for several years. That will be the only thing you might have trouble tracking down.
The only other supplies are a piece of scrap lumber and a few washers & screws. Not so bad right?
You will also need a drill, a marker and a jigsaw. There are probably other types of saws that would work but I used what I had on hand. You might need a bit of sandpaper and something to draw a straight line.
How to Make a Hay Feeder from a Barrel
I don’t believe in measuring, I’m a fan of the eyeball method but do what makes you comfortable. I wanted to make my opening about 1/4 of the barrel.
That gives them enough room to get their heads in while still leaving room to hold a few flakes of hay.
First I drew a line across using a piece of scrap lumber for a straight edge, moved about 1/4 of the barrel down and did the same.
There were horizontal grooves along the top and bottom of my barrel, I followed the middle ones but I might go back and make the hole in the barrel a little wider.

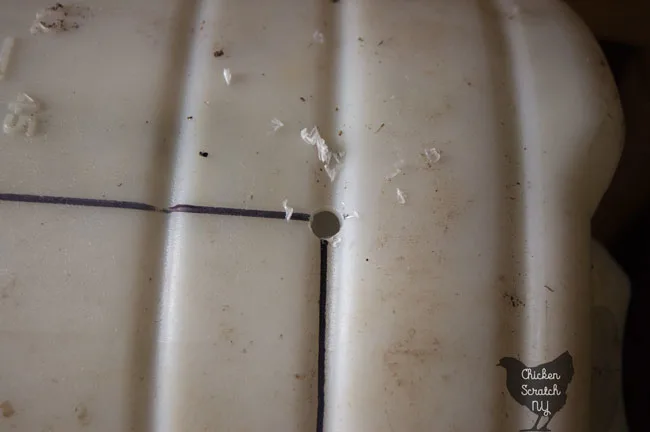
Now comes the fun. Drill four holes, one in each corner using a drill bit that is wider than the jigsaw blade.
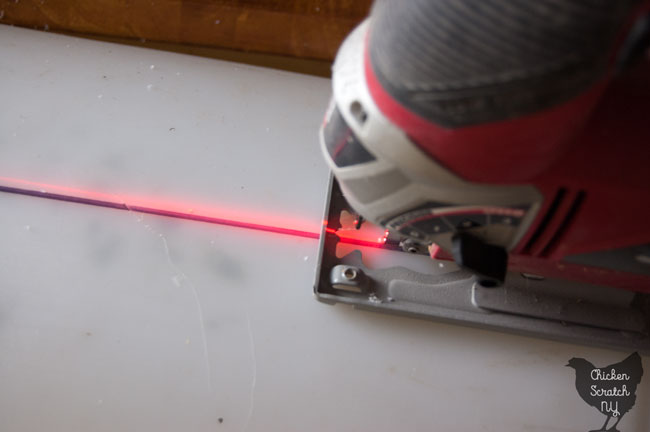
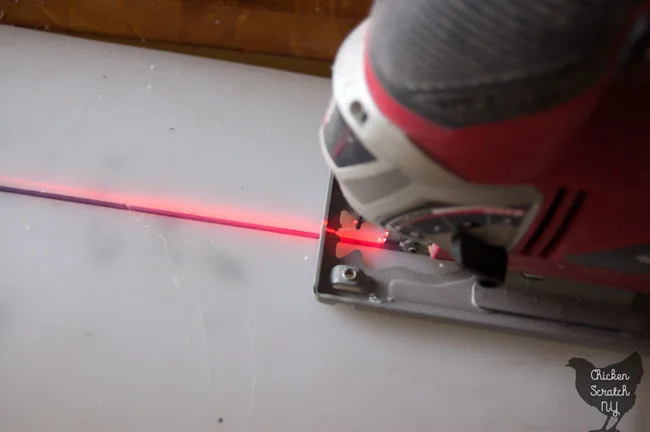
Use the jigsaw to cut along the lines you made. Mine has a fancy laser that makes it pretty easy to follow the lines.
That’s it for the feeder, the rest of the stuff is needed to hang it up. Drill two holes in the back of the barrel.
Slip the washers over the screw and use the drill the attach the barrel to the wall. The washers should keep the screws from popping though the barrel.
Plastic does get brittle with age but this won’t be in direct sun so I’m hoping this will last a few years.
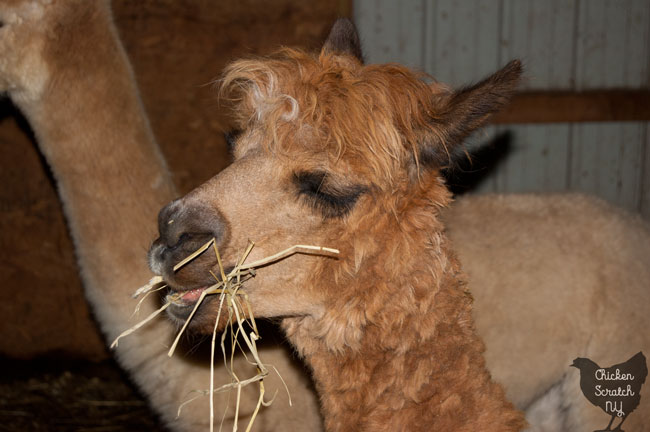
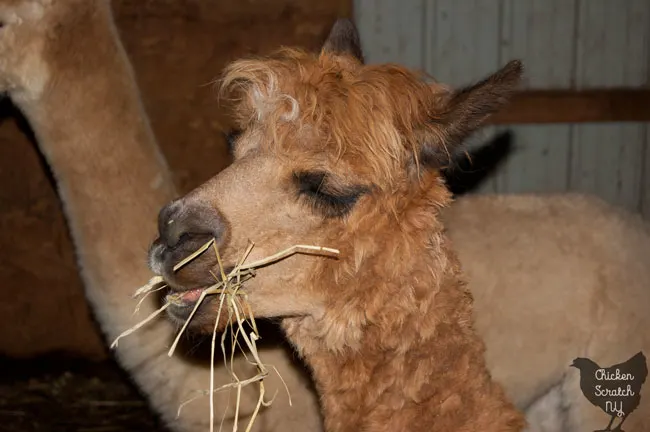
Fred seems pretty happy with it. I’m probably going to make the hole a little wider and I’m thinking about adding a bungee cord to the front across the middle to keep them from pulling the entire hay flake out at once.
Check out my Livestock page for more ideas or start here: