
I’ve been busing dissembling and reassembling my chicken coop and that included building a new set of chicken roosts. With winter on the horizon it seemed like a good time to get things in order.

My flock is free ranged so from about April-December they spend most of their time outside the barn. Which is great because it means I have to clean it a lot less 😉
But based on the piles of molted feathers I’ve been seeing winter is on it’s way and that means more time in the barn.
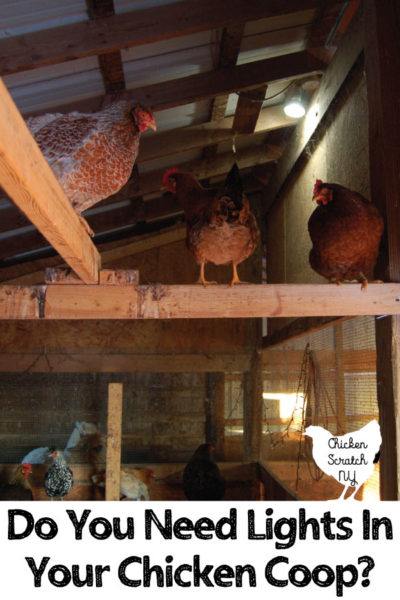
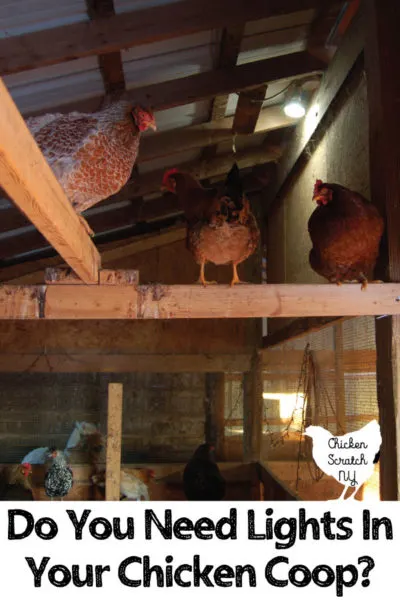
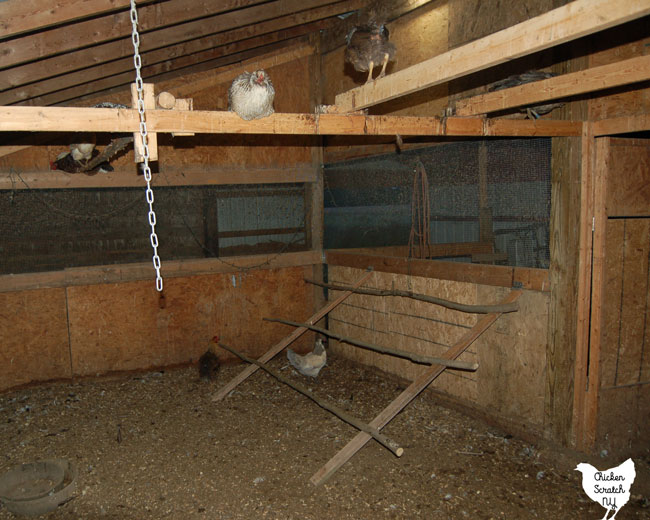
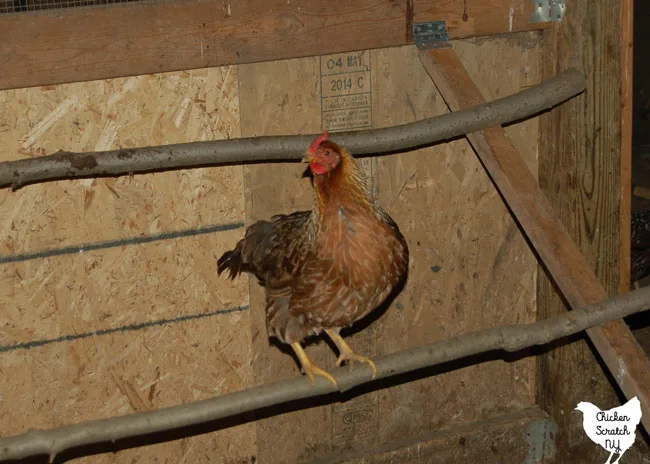
Back to the roosting, I have three long roosts that are about 6.5 feet off the ground. They’ve served me well, most of my birds enjoy being up high, the Appenzeller Spitzhaubens and the guineas would gladly roost in the tallest tree they could find if I’d let them.

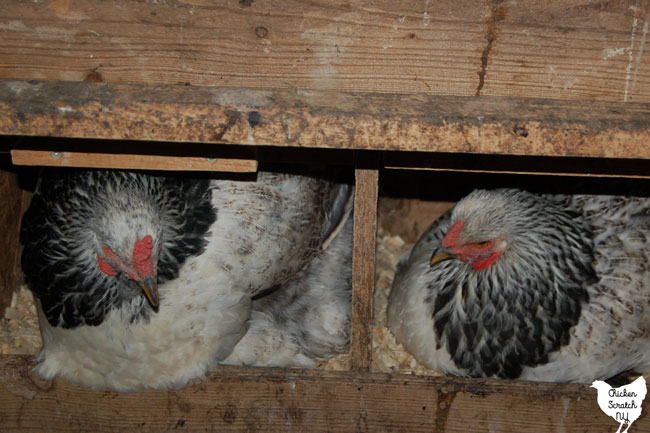
However.. With my last chicken order I ended up with some fancier birds that don’t seem to like the tall roosts, mostly the Silkies and the Cochins. They’re been sleeping on the ground or in the nest boxes.
My big Bramha ladies are also getting in on the lazy. I get enough poop in my nest boxes without half a dozen hens sleeping in them so I needed a solution.

I’m also broke so I needed to solve this problem without spending any money. Luckily (maybe?) I got the farmer hoarding gene from my Grandfather so I had lots of options hanging around. If you don’t have a Lowe’s worth of random junk laying around this should still turn out pretty cheap for you.
The wood I used is 2x3s that were at some point part of the turkey coop. I found two that were about the same length and called it a win, any time I don’t need to cut something I’m happy! It helps that my coop has a dirt floor so it’s uneven anyway.

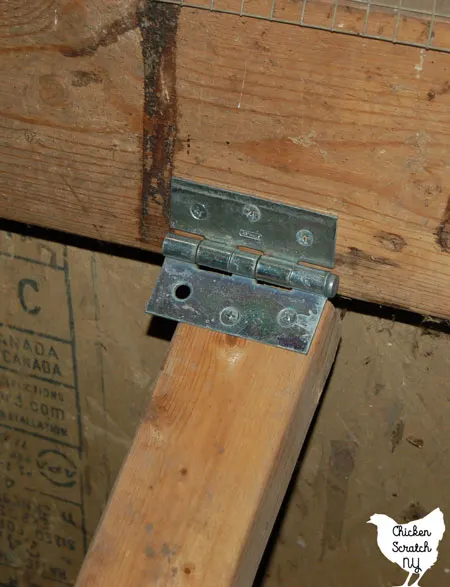
The hinges were pulled off the broken door to the chicken run. The door is completely trashed but the hardware is in perfect condition. I pulled of the latch and handle to store away from another project (hoarder gene, I’m telling you…). The hinges were wider than the boards so I centered two holes on the board and skipped the third.
The roosts themselves are made from poplar saplings. There’s a small tree lot on the side of my property that I ignore completely. Every once in a while I head over to cut down a few saplings for projects like these chicken roosts or my t-post trellis.
Poplar is a quick growing wood and it won’t last forever but it’s free and they keep growing back so… My assistant and I walked into woodlot with a folding saw and walked out about 10 minutes later with three trees.
I picked saplings that were about 2.5 inches in diameter at the base and cut off all the branches sticking off the sides and left the scraps in the woods. I like using trees for roosts because of the natural taper, I have different sized birds and they can all find a spot that fits their feet.
My 4 year old Mary was helping while her sister napped and she enjoyed kicking the trees and yelling timber after I’d cut 95% of the way through. We find our fun where we can 😉
This was also her first experience using the drill and she was ecstatic. Every time we go out in the barn she’s over the moon to see the chickens on her roosts.
Now that you know where all my supplies came from I’ll jump into legit tutorial mode:
Folding Chicken Roost Supplies:
- Drill + drill bits
- Hand Saw
- 2 – Hinges + screws
- 6 – Screws long enough to go through the saplings
- 2 – 6 foot 2x3s
- 3 – Saplings

Instructions:
1. Screw hinges to tops of 2x3s, screw one to the wall where you want the roost to be. If you have tall roosts like me make sure the new ones won’t be underneath the old roosts. Practice flipping it up to make sure you have the hinge on right before you move on to the next step
2. Drag in the saplings and figure out where the second support needs to be. This is long enough that I probably could have added another support in the middle. If my fat hens start bending the roosts I’ll add one.
3. Screw the 2nd hinge to the wall.
4. Drill pilot holes into the saplings. If you’re screws aren’t long enough do what I did and drill a hole wider than the head of the screw about 1/2 way into the sapling then drill the screw sized hole. I think it’s called countersinking but no one bothered to teach me the right way to do things so I’m making it up as I go
5. Screw the saplings to the 2x3s with about 2 feet in between so the birds up higher aren’t pooping on the birds below them.
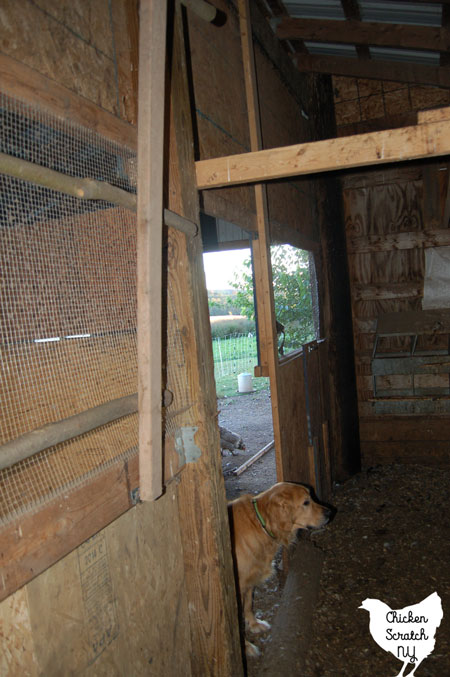
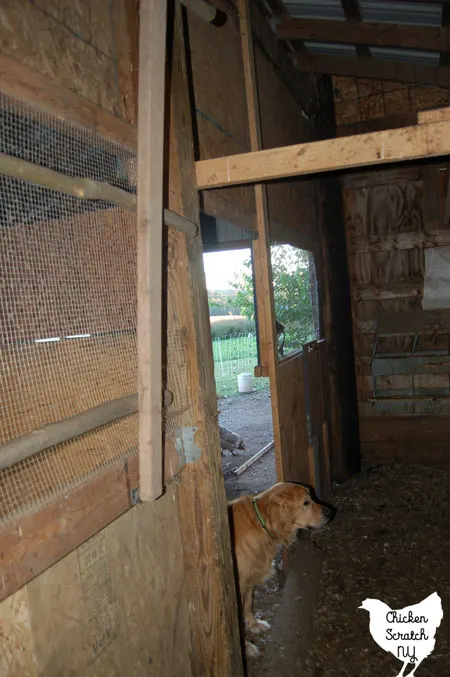
The whole roost is fairly light, I can pick it up with one hand. When I want it to be up and out of the way I lift it up and bungee cord it to the wall.
It’s not fancy but it works! And I have less poop in my nest boxes so it’s an all around win.
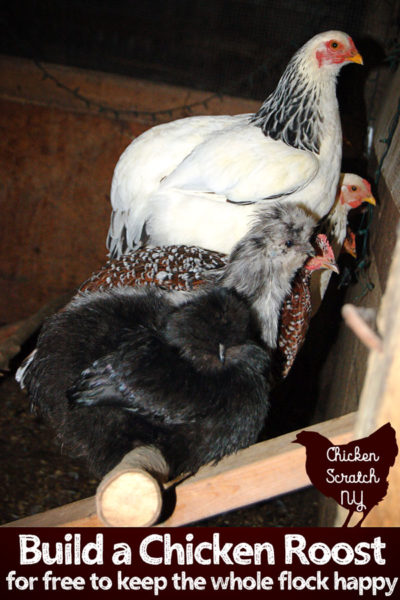
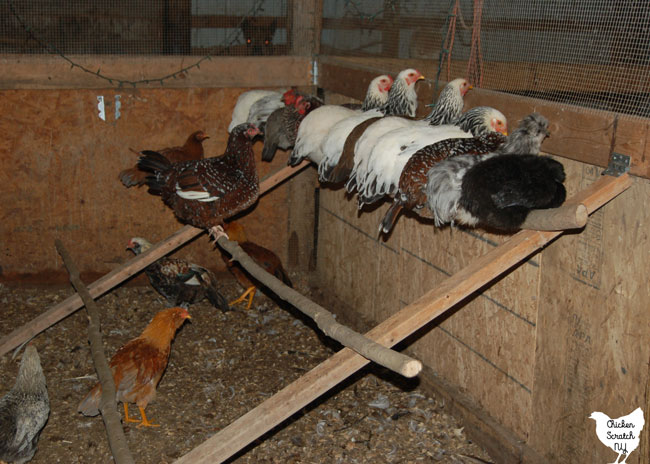
The chickens seem pretty happy with them, a few more have been lining up every night for bed. That little black ball on the right is actually a chicken, not a small black stuffed animal. They’re ridiculous but I love them!

Don’t forget to PIN this to your chicken board!
Check out my Livestock page for more ideas or start here: