Are you wondering how to make a Christmas wreath from scratch? I’ve got you covered with this tutorial on my latest rustic holiday wreath.


Everything I used for this wreath came from Michael’s, including the wreath itself in the floral area. The ribbon, greenery and decorative elements all came from the Christmas section.
I put the whole thing together with wire, I find that the wreath will survive the winter weather but the ribbon and greenery wont. That way when the season is over I can toss the decorations and I still have a nice wreath ready for redecoration.
After a few uses you can give it a quick blast of black spray paint and turn it into a Halloween spider wreath or a bleeding flower wreath. Anything to make the decorating budget go a little farther right?
Farmhouse Christmas Wreath Supplies:
- Grapevine Wreath
- Battery Operated Lights
- Wide, Wired Christmas Ribbon
- 2 Antlers on a stick
- 3 Pine Cones on a stick
- 1 Large piece of Winter Greenery
- 2 Small pieces of Winter Greenery
- Floral Wire
- Wire Cutters or Scissors you don’t care about
- Wreath Hanger
You can also use a hot glue gun to put this together if you don’t want to mess around with wire.
How to Make a Christmas Wreath from Scratch:
I think it’s easiest to work on a wreath while it’s hanging up, things look different laying flat than they do when they’re fighting gravity. Put the wreath hanger up on an inside door near a table with all of your wreath making supplies.
1. The first step is adding the lights, use a piece of wire to secure the battery pack then wrap the lights around the wreath. Aim to get them evenly spaced but you can shift them a little as you work. Use another piece of wire to secure the end.
Fun fact, I don’t have batteries in my lights yet because I snapped the tip off my tiny screwdriver when I was using it to pry something open and I can’t get the screw out to put batteries in.
2. Add the ribbon by wrapping it around the wreath, just like you did with the lights. Try to get 1/3 of the grapevine covered with the ribbon. Secure the ends with wire (that will be a theme here)
3. Now the fun part! First figure out where your focal point will me. For this wreath I went with the bottom right, about 4 o’clock.
If you don’t want to add decorations all over you should keep them together so your wreath decoration looks intentional and not unfinished. I like putting my focal point in that 4 o’clock area but you can switch up the look by moving it to the top, bottom or the side.


The first piece of decorative greenery I added was a long evergreen branch with a few pine cones. I bent the stem a bit then jammed it into the wreath.
The bottom of the branchy part went right at the focal point with the branches aiming up to side of the wreath. Use a piece of wire to secure the top of the branch to the wreath.


4. Then I grabbed two smaller picks, these are much fluffier and have a few red berries for color. The red worked really nicely with my red buffalo check ribbon.
Just like the last piece, bend the stem a little and stick it into the wreath then secure with a small piece of wire. This time you’re going to add one aiming up and one aiming down. If they seem floppy you can secure them with a small piece of wire.
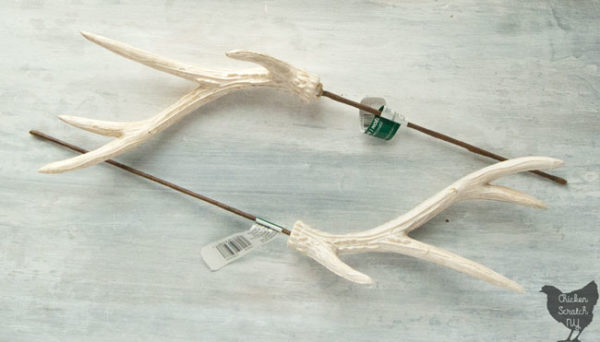
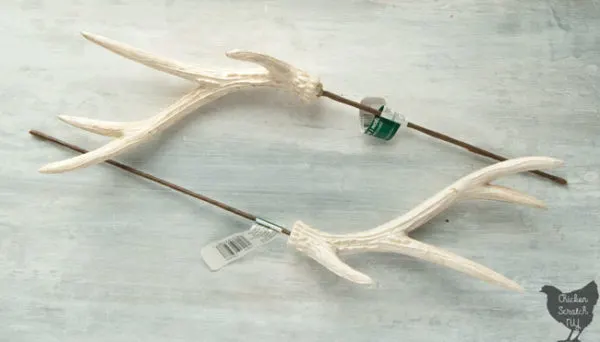
5. Now the fun part the antlers. All of the antlers in my local store were from the same side, it bothers my soul a tiny bit but not enough to not use them on my rustic Christmas wreath. Just like with the fluffy picks, bend the sticks a bit so they go into the wreath and not through it, then secure with a loop of wire. It’s harder to hide the wire on the antlers but no one will look that close!
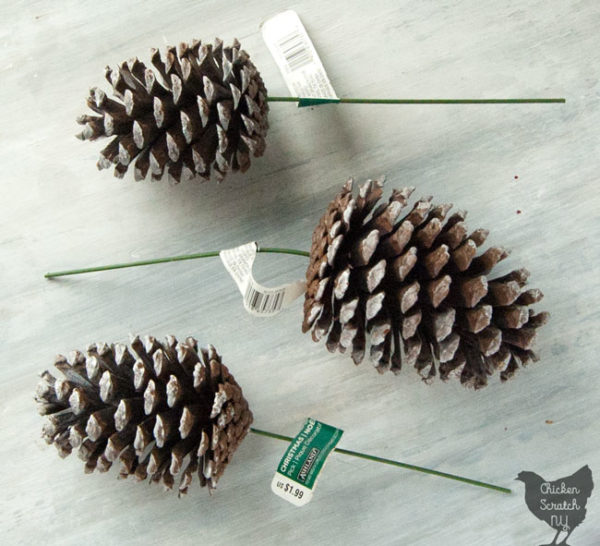
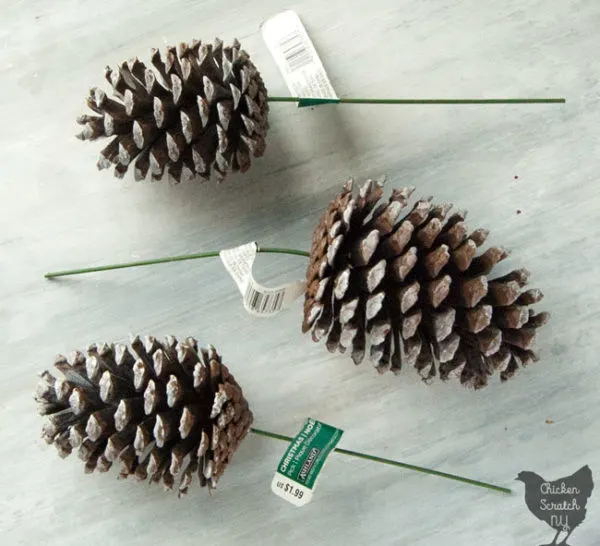
6. I added 3 pine cones but I’m still not sold on them. I think they’re a bit too big but I had them so I threw them on. The largest cone is on the inside of the wreath near the focal point, the other two are staggered up. If they seem insecure, you guessed it! Secure with some wire.


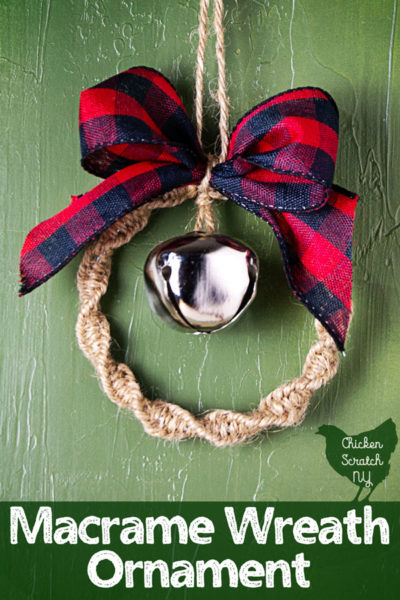
7. Last but not least, the bow! I went with my standard wreath bow for this one, cut a long piece of ribbon and find the center. Fold it over like a Z and squish everything together in the center. This is the ribbon from a Macrame Wreath ornament but it’s the same method.
Take a piece of ribbon about 6 inches long and tie a knot in the center. Wrap the short piece around the center of the longer piece wedging a piece of wire inside, you should have a loop, a tail and one end of the wire sticking out on each side. Cinch it tight and tie another knot


8. Use the wire to attach the bow to the wreath right at the point where all the other elements meet. Fluff up the loops and you’re done! Hang it up for everyone to enjoy!
Check out my DIY Wreath page for more ideas or start here: