

Something about cold and rainy autumn days makes me want to hole up and create something. It’s the time of year when I dig out the needle craft supplies I stash away in favor of gardening gloves and hand weeders from spring to summer. I wanted to make something new so I drew up a set of autumn punch needle patterns.

If you’re not familiar with punch needle check out my punch needle basics post. For this set I used a dark grey-green unwashed denim for my base. I wanted the leaves to really stand out and glow against the background
I punched each ornament in 6 stands of DMC embroidery floss. The leaf and the tree are done in one length I went with 7 because I like the slightly looser look, I think it helps the colors blend together better. Also longer loops = looser stitches = more forgiving of bald spots.
After you transfer your pattern to the wrong side of the fabric hoop it tightly. I really like the plastic locking hoops for punch needle.
They’re cheap and easy to find at Michael’s. Instead of just laying flat against each other there is some tongue and groove action going on to hold the fabric extra tight.

I used the same method for the leaf and the tree, switching up my color family. Fun fact, I planned on making it two leaves and an acorn but my daughter decided the yellow one was a tree so I went with it.
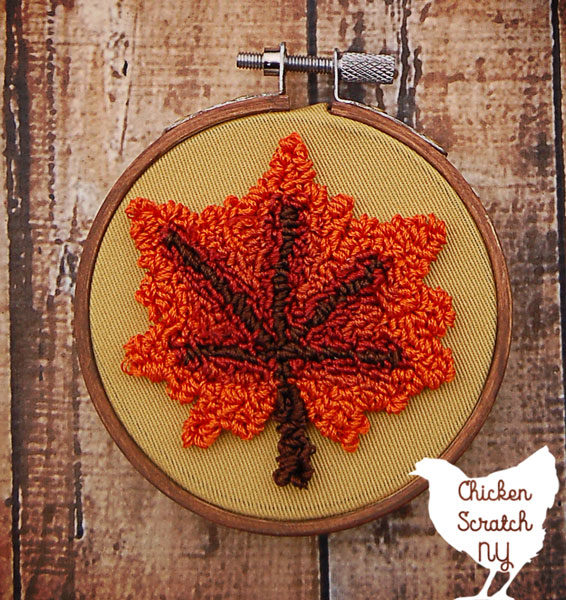
Starting with the inside of the leaf punch the center stem and veins in one row. Then working from the inside out trace around the brown with your darkest color. I went for 2 rows in dark rust.
Then switch to a medium shade and do another 2 rows.I didn’t go all the way around the veins with each row so I ended up with several V-shapes instead of one continuous loop.
As you get further from the leaf veins the shape will be rounder and less intricate. Switch to the lightest color and punch the outline, then fill in all the empty spots.
Keep flipping to the front while you’re punching to see the leaf take shape. I used 3 colors because I liked the gradient it gave me but your could use one or a dozen.
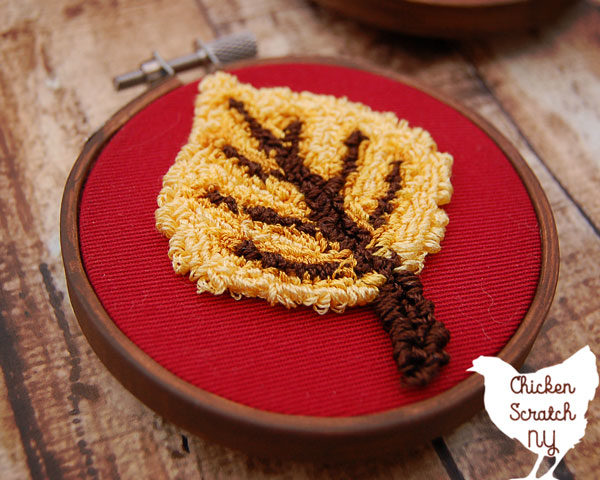
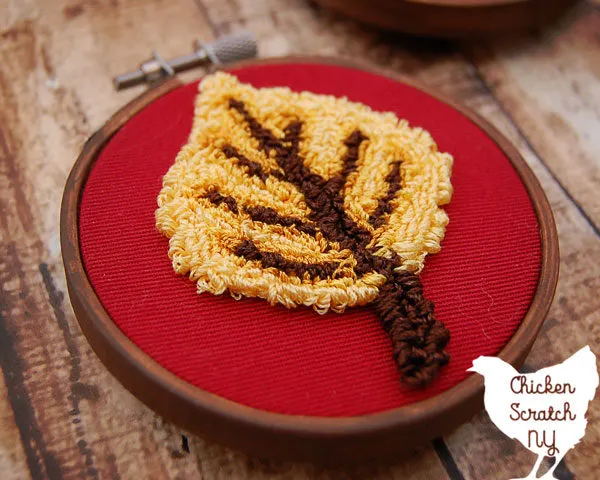
The tree was done the same way except I only did one row of each yellow. I couldn’t find the yellow thread I bought for this and I wasn’t about to hit the craft store again so the yellows don’t blend together as well as I’d have liked but hey, that’s life!
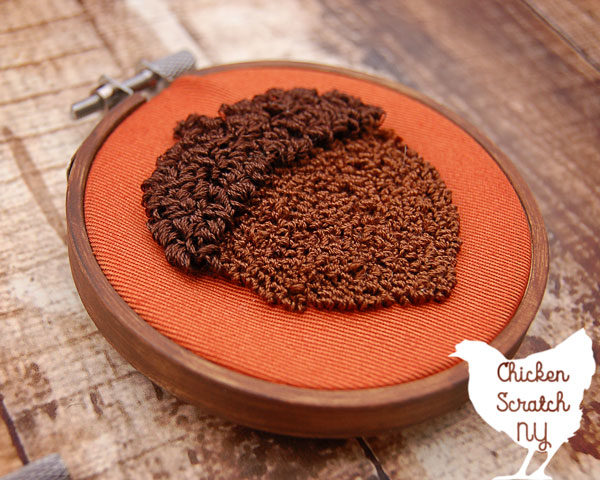
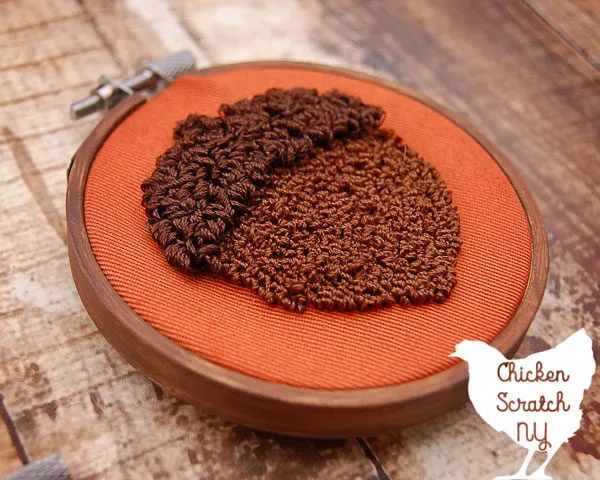
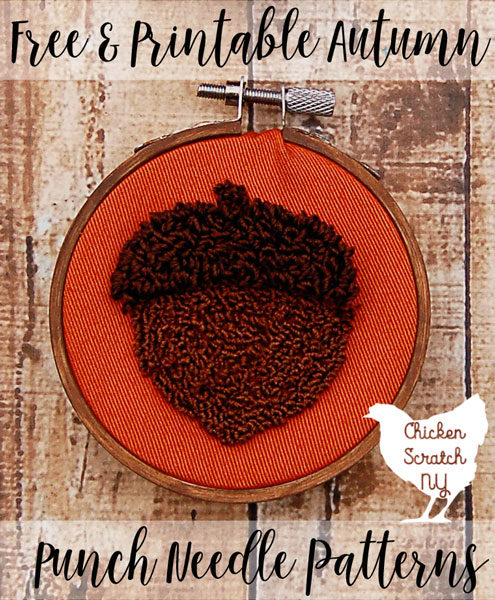
For the acorn start with the body and fill it in completely with a medium brown. I worked around the edge and then circled my way in, I think you get the most precise outline that way.
Then switch to a darker brown and fill in the stem. Keeping the dark brown switch to a longer loop length, I used a 9, and punch the cap working from the outside in. I really like how this one came out, it didn’t have all the pretty colors of the leaves but I wanted to give it something special and I think the different lengths accomplished that.
They were finished the same way I did my Santa Hat ornaments (don’t forget to check out that pattern to get a head start on your Christmas crafting). I painted the outer frames with a dark brown craft paint before I put them together. I though the darker color looked better than the raw wood with the dark grey.
Get the free pattern to make your own here. Please do not sell this pattern, I provide them for free to my readers and selling my work would just be mean and rude and we don’t want that do we? If you do punch your own I’d love to see them! You can send them to me at my facebook page or tag me on Instagram @AleciaCSNY
Denise C
Thursday 9th of November 2017
I just got an email about a great % off your total purchase coupon at AC Moore. Now I know what I need to get!
Milena
Thursday 9th of November 2017
My husband looked at the acorn photo and thought it was a cake! Now, that's some good art! I wish I was this talented.
Cynthia
Thursday 9th of November 2017
These are so cute! Also looks like a good past time for when my maternity leave starts!
Jasmine - Stylish Cravings
Wednesday 8th of November 2017
These are adorable! Ive actually never tried to make these but they sound really easy!
Liz Mays
Wednesday 8th of November 2017
Wow, great work! These turned out really well and they'll be fun to use every Fall!