
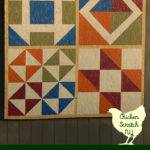

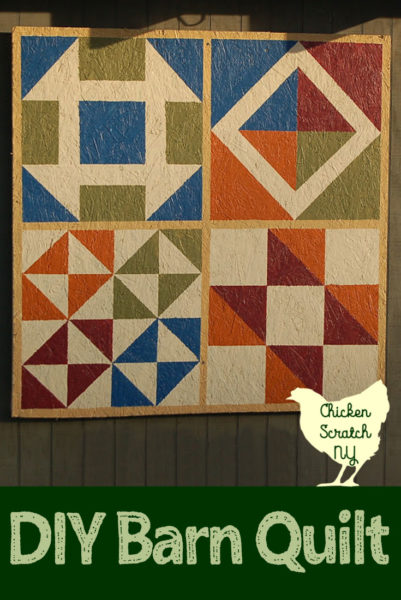
Barn quilts are a traditional method of barn decoration dating back hundreds of years. They’re a great way to add some color all year round to your outside spaces.

If you have an outbuilding, plywood, and some paint you can add your own barn quilt to the world. Depending on the size of your barn quilt this project can be completed in a few days to a week. Most of the time is spent waiting for the paint to dry which can take a while if it’s humid.
Long before I started making my own quilts I was obsessed with them, the way simple shapes turn into something completely different has always fascinated me. But despite sewing, since I was literally a child, I didn’t start quilting with fabric until 2020.
Learn more about Quilting & beginner-friendly quilt projects
Instead I kept my quilting urge satisfied by painting quilt blocks on plywood and sheet metal. Instead of a sewing machine, you’ll need some painters tape and house paint.
The total cost for my barn quilt was around $20 for the paint, brushes and tape. The plywood was salvaged from the turkey pen at the old house (free!)
How to Paint a Barn Quilt
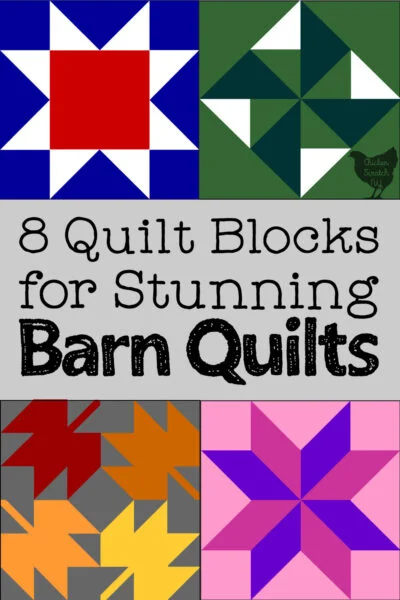
The hardest part of making a barn quilt is picking the pattern. Traditionally barn quilts are made with a single quilt block blown up to cover 8 foot by 8 foot plywood.
My barn is only one story and an 8 foot quilt would have been way too big so I made my quilt 4 foot by 4 foot. It ended up being the perfect size for my space so feel like you need to make a giant quilt for it to count.
Check out 8 Classic Quilt Blocks Perfect for Barn Quilts
Print out a copy of the pattern and get busy with your colored pencils to figure out what colors you want and where and then keep the paper with you while you’re working. After you’ve got your pattern picked out it’s time to get your supplies together.
Barn Quilt Supplies:
Plywood – as of writing this, wood costs are on par with car payments. This is a great project for reusing scrap plywood, it’s going to be completely covered with paint so don’t let a few dings or odd paint splotches hold you back.

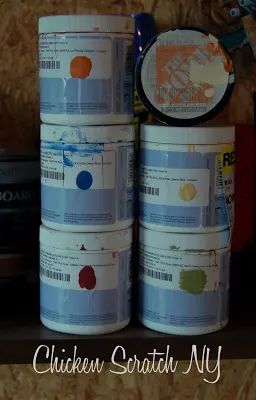
Paint – Outdoor house paint works really well for barn quilts. It’s meant to be outdoors and should hold up to the sun, rain, wind and snow.
It’s also thick enough to fill in any gaps in the plywood. I had small sample jars made in my colors and I had about half a jar of each left at the end.
If you are only using two colors you’ll need more paint. Definitely check the oops rack, you might get lucky, or you might dive headfirst into another craft hoarding situation.
Painters Tape – The secret to straight lines is painter’s tape. In my experience, you don’t want the cheapest on the market (it shreds when you try to unroll it) but you don’t need the really expensive stuff either.
Measuring tape or Ruler & Pencil – Quilting is very math/geometry-based and the more precise you are in the beginning the better your results will be. Pencil lines are easy to cover with paint and even if you miss them they won’t show up unless you’re right up against the quilt.
My barn quilt was 4×4 so I measured out and marked 2 ft sections. and taped them off before I moved on to marking out my smaller blocks. Most quilt blocks are based on 2×2 block (4 patch) or 3×3 block (9 patch) settings.
Barn Quilt Painting Instructions:
The first step to making a barn quilt is to give your plywood a good base coat of paint. Use a brush or a roller but don’t be stingy with the paint.
Plywood (at least the cheap stuff) has lots of holes and nooks and crannies and the paint will get sucked right up. Go at it from all directions and you might still need a second coat.
Let the base coat dry really well, overnight is great, or aim a fan at it. If the base paint isn’t completely dry it will peel off with the tape.
My quilt took three days, one for the base coat, one for marking/taping/painting, and then I hung it up the next day after everything had time to dry.

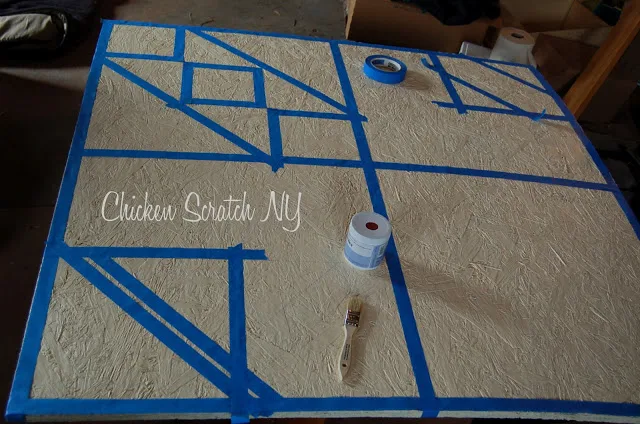
When the paint is dry grab a ruler and start marking out your pattern. I had 4 equal sections and I added a one-inch border around the whole thing. Those paint lines stayed on the whole time so they had to go down first.
Then I was able to start marking off sections for the individual paint colors. How complicated this step is will depend entirely on your pattern. I tried to get all of one color done at the same time.
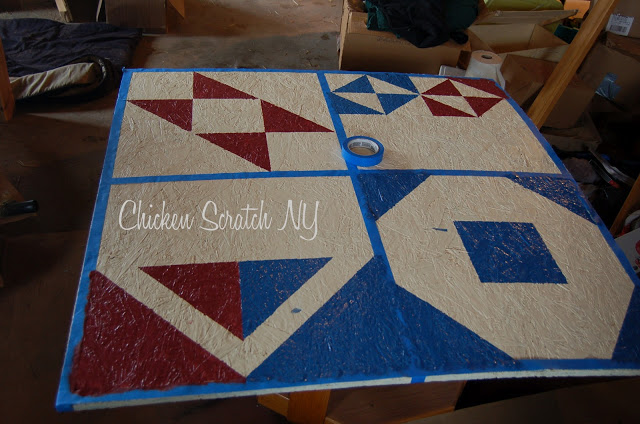

If you make a mess while you’re painting it’s not a big deal. Let the unintended paint splatters dry and then go over them with another coat of your base color.
I hung my barn quilt by marking the center of the barn and then screwing scrap pieces of 2×4 to the barn along the top and bottom.
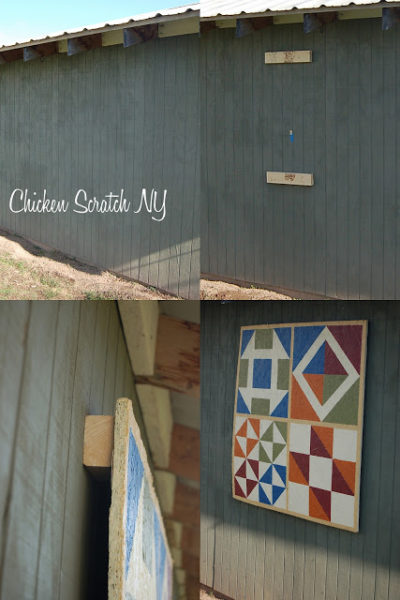

Then I screwed the quilt to the 2x4s. I didn’t want the quilt right against the barn. Leaving the gap keeps things drier.
I bought poly-sealer but I never ended up using it. It’s been up all year round since 2012 and it looks like it did the day I hung it up.
It’s protected a little by the overhang from the barn roof and it’s not on the side of the barn that gets the brunt of the rain and snow so that also helps.

Barn Quilt Painting Tips:
- Don’t be stingy with the paint. This board was so rough (and sucked up paint like crazy) that I found it best to slap on massive amounts of paint
- If you use rough plywood – buy some cheap chip brushes. You’ll mangle them trying to get the paint in all the cracks
- Step back – you’ll drive yourself nuts trying to make the lines perfect. Step back 3 feet, if it looks straight leave it alone!
- Keep it simple! Large blocks of color work best at long distances
- Don’t worry about spills. They are easy to cover up with a few dabs of paint
- Don’t be afraid to fudge a bit if your lines don’t meet up
A Barn Quilt is much more forgiving than an actual quilt and takes much less patience and effort.
2018 Update:
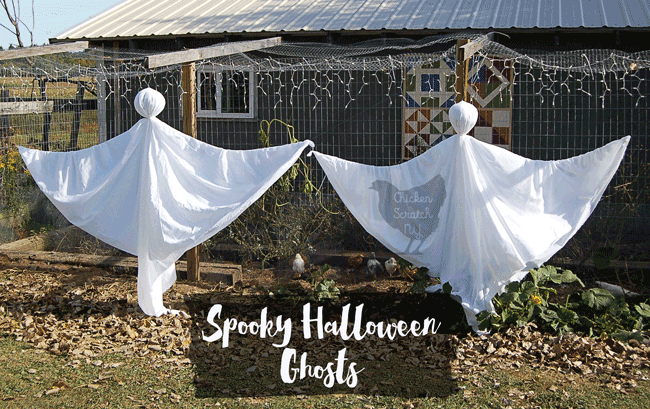
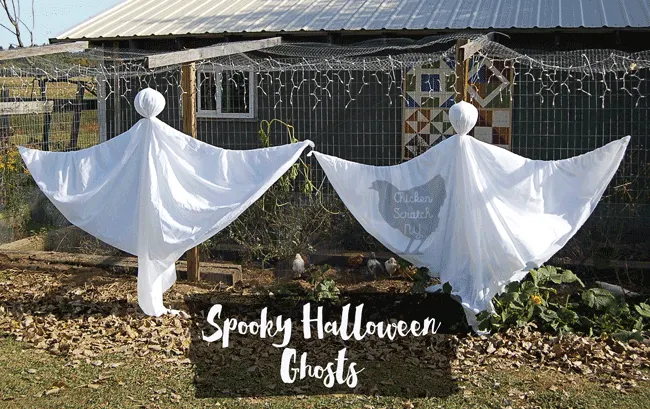
I never sealed it. But it still looks brand new! It’s well protected under the roof overhang. I added a chicken run to the front of the barn during the hawk & fox population explosion of 2014.
You can see the run and the barn quilt in the background of the Halloween Ghosts post.
Check out my DIY Garden Projects page for more ideas or start here:


Delores Bruyette
Wednesday 15th of June 2016
I don't have a barn, I going to put mine on the front of my house so everyone can see it as they drive by. I live on Route 66 and get a lot of traffic. You can put it anywhere you want to, that's the fun of crafts. Do what feels good.
Delores Bruyette
Wednesday 15th of June 2016
thank you Ive wanted to make one for a long time now. Im so glad you put instructions. Its how I thought of doing it but now I know. I can follow a quilt from a book if I want to. Thanks again . Beautiful job I really like it.
Best of 2012 | Chicken Scratch
Saturday 29th of December 2012
[...] 9. Barn Quilt [...]
Firecracker Centerpiece Tutorial | Chicken Scratch
Saturday 29th of December 2012
[...] painted mine using left over paint, the blue and red from the barn quilt and the white is basic Apple Barrel acrylic. I watered down the paint as I went, painting the tops [...]
Geri Johnson
Thursday 19th of July 2012
I love this Barn Quilt yard art idea! I've been wanting to do something like this to hang on the fence in the backyard so thanks for the inspiration! Pinning this now! :D