
A few years ago my sister and her friend went to camp a came home with a box full of Monarch caterpillars. We raised them in a large tub covered with bug net, filling it up with fresh milkweed everyday until they formed dozens of chrysalises (I had to look that one up, thought it might my chrysali but it’s not) and finally turned into a whole flock of monarch butterflies. We released them all after their wings has hardened and let me you, being surrounded by a swarm of dozens of fluttering monarchs is beyond words. The tub worked but since you had to remove the top it got tricky once they started pupating.
I had that scenario in mind when I found a monarch caterpillar while on a walk with my mom and a sleeping Mary. I looked for some friends but haven’t had any luck so for now I have named him Horatio and he lives alone. He was living in a lemonade cup from Wendy’s with a new milkweed leaf every day and a quick clean up daily.
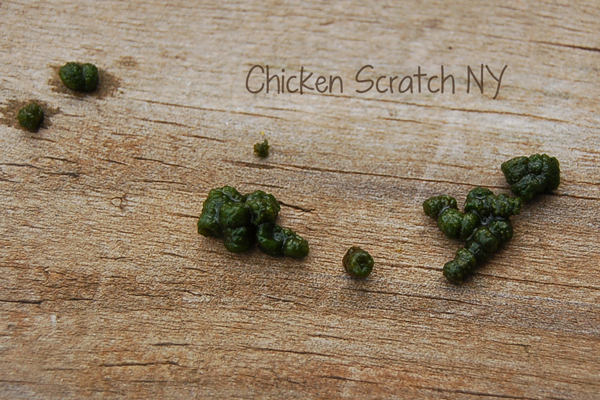
If you’ve never raised caterpillars you should know they poop a lot. It’s called ‘frass’ and in this case it’s small balls of green leaf. It’s really important to keep the container clean. See that stuff up above? That’s what you want to keep away from the caterpillars.
It’s not hard to raise caterpillars but it is a commitment. They need a constant supply of fresh food, Horatio eats at least 1/2 a large leaf in a day by himself. So you need a good supply of milkweed to take them though to the end. It’s a cool process to observe, they are caterpillars for around 2 weeks and in that time they go through 5 instars. Right out of the eggs they are about the size of an ant. Horatio was in his 4th instar when I scooped him up and after a sad Monday (I thought he had died) he shed and entered his 5th instar. That means caterpillar Horatio will be leaving us and butterfly Horatio will be on his way soon!
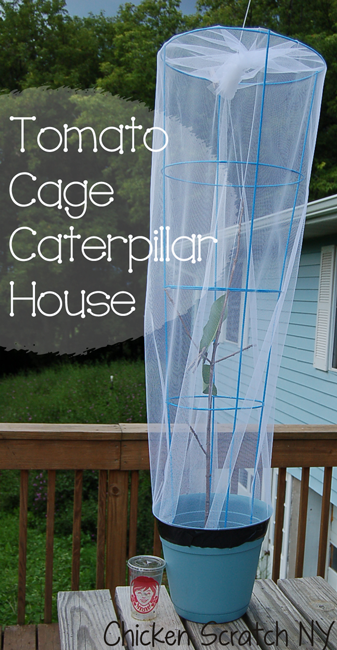
I felt bad that he was spending his youth in a lemonade cup so I built him a palace. If you’re in the market for a caterpillar palace I might be able to help you. Sadly I don’t have any in process pics.

Miss Mary has learned to crawl and I spent most of my time keeping her out of the potted plants.
Supplies:
- Tomato cage – the one I used is huge! Lowe’s had the 54 inch blue powder coated ones on clearance so that’s what I grabbed
- Flowerpot – deep is good and you need to fit the tomato cage in it, make sure the duck tape sticks to it!
- Organic potting soil or compost
- Tulle
- Zip-tie
- Clothes pins
- Scissors
- Duck Tape
- Caterpillar, milkweed, branching stick
Instructions:
- Fill the pot with soil. It serves a few purposes; it keeps the whole thing from tipping over, it gives the caterpillars a soft place to land if they fall (not that Horatio would ever fall…) and helps the milkweed stay fresh if you pull up the plants roots and all.
- Stick the tomato cage in. Hopefully it’s pretty stable, if not add more soil.
- Add a stick, look for one with horizontal branches for the caterpillars to make their chrysalises on
- Gather the top of the tulle together about 4 inches down, make sure the ends overlap and cinch it tight with the zip-tie
- Drape it over the top to the gather is roughly center and trim the tulle so it hangs down about 1 inch past the pot
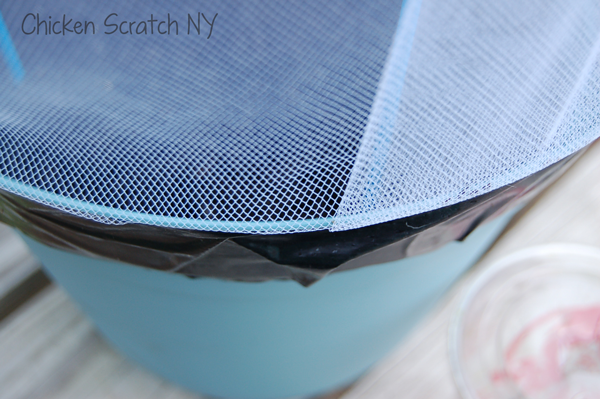
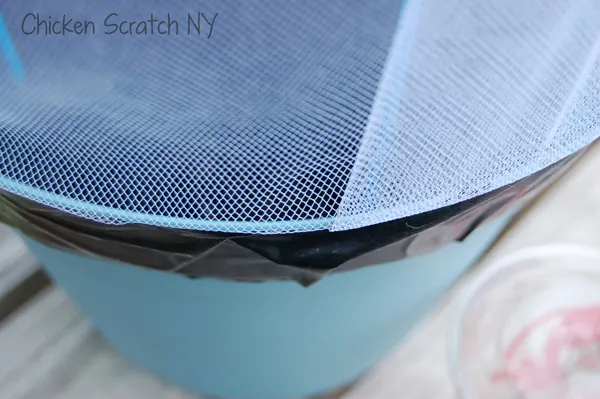
- Tape the netting to the pot, keep it taught to the lip of the pot so you don’t create a pocket for the caterpillars to get stuck in. You’ll need to make a few gathers as you go around
- Overlap the tulle by about 5 inches and finish taping
- Use a clothes pin at the top to secure the two ends one over the other
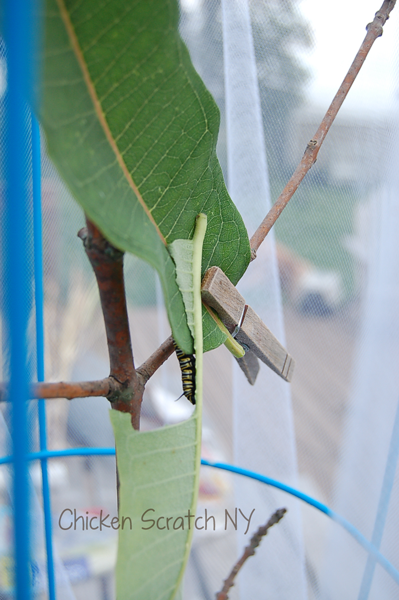
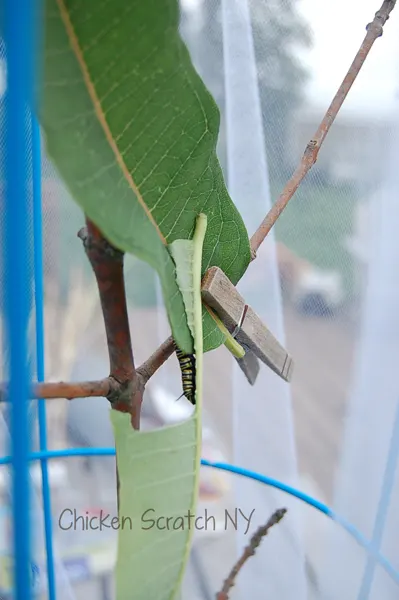
- Clothespin a leaf to the branch of you have a singleton or if you have a lot of caterpillars you’ll be better off pulling up whole plants, you can bury the roots in the soil and they’ll stay fresh longer, with only one it’s easier just to add one leaf at a time.
- Use another clothespin to keep it closed by pinning the two layers of netting together.
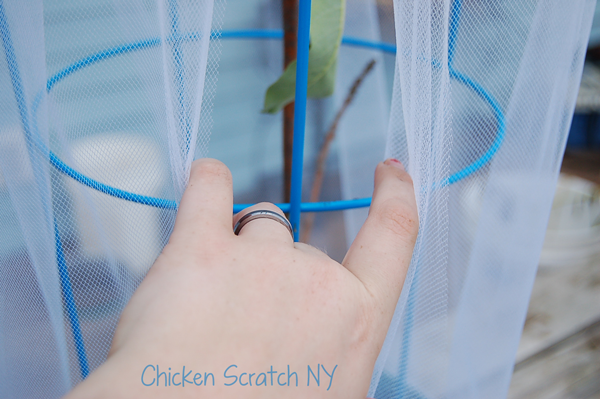
The netting is slightly stretchy so your door should open wide enough to let you replace the milkweed without much trouble.
Keep the cage in a protected area, out of direct sun. Because the sides are all netting ventilation shouldn’t be a problem. . I have mine in our breezeway aka entry way. We keep the windows open all summer so there is lots of fresh air. When it’s time to release him (by the way I don’t know what gender the caterpillar is, Horatio just seemed like a good name so it became a he) I’ll snip the zip tie and remove the clothes pins. After a quick clean up and a new zip-tie we’ll be ready for another batch.
For more info check out the Monarch Larva Monitoring Project where you can even sign up to monitor monarch presence in your area. Another great site is Learn About Monarchs.


Update: 2017 was a great year for monarchs! We raised 20+ caterillars and released them all for the final migration to Mexico! This time I kept them in the house in a large terrarium in the house so the kids could watch the whole process from caterpillar to chrysalis to butterfly. We also overwintered 2 swallowtail butterflies that we released in the spring of 2017 in the same way.
Sharon
Saturday 27th of January 2018
Very cool idea,i have been working towards getting more butterflys in my flower gardens.
Jonni
Friday 1st of August 2014
Wow! Awesome! One time our yard was filled with migrating monarchs, thousands. When they flew off, it was the most amazing thing! I wish I had been taking pictures like I do back then.